cronmon
cronmon 是一个计划任务(定时任务)监控系统,可以对循环执行的程序和脚本进行监控告警,当其未按照预期执行时,发送邮件到对应邮箱进行通知。 同时可以将监控任务划分到不同业务下面,每个业务可以分配不同的通知人,建立业务、通知人和监控任务的多层级关系。
通过以一定的间隔发送HTTPS请求到特定的URL实现监控。如果URL未按时接受到请求,对应的业务通知人则会收到告警。 你可以监控你的数据库备份和安全扫描等关键性任务。

安装
从github下载安装
$ git clone git@github.com:bruceye777/cronmon.git
$ python setup.py install  # 如果无需安装到site-packages目录,此步可省略。
初始化
解压缩/安装之后,需要进行初始化工作,包括全局配置修改、系统表初始化和样例数据插入。
$ vim cronmon/conf/config.py # 全局配置修改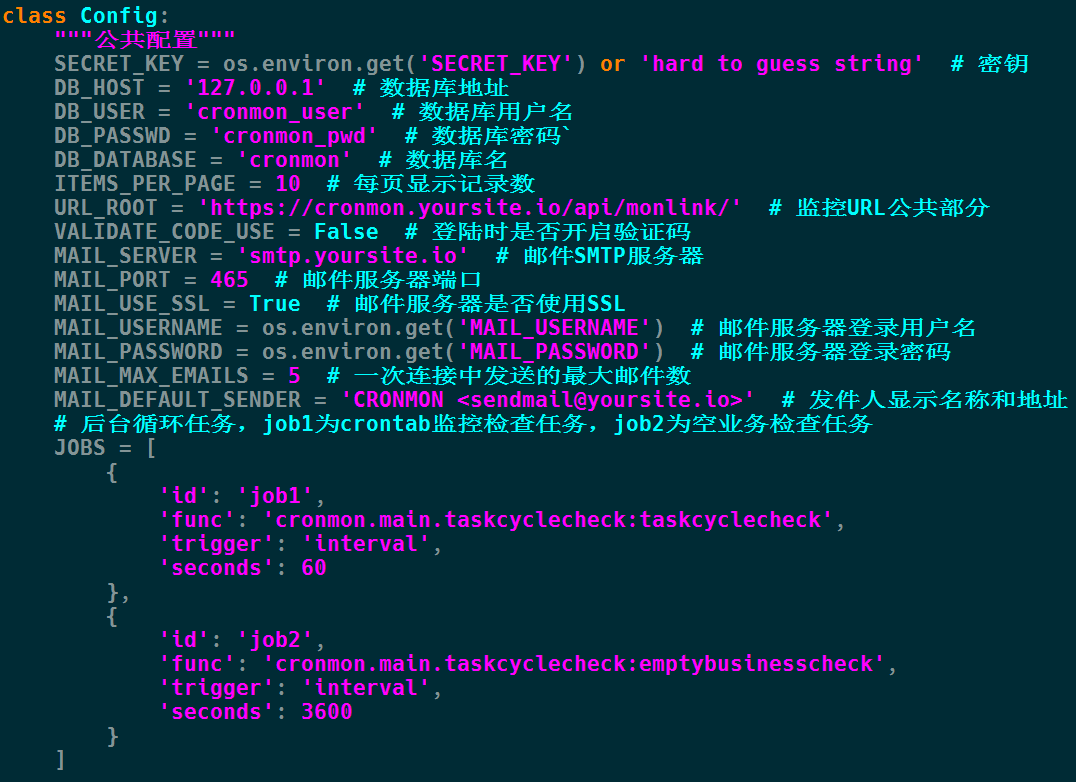
$ python migrate.py init  # 系统表初始化,初始用户名和密码均为cronadmin
$ python migrate.py sample  # 样例数据插入
启停程序
$ uwsgi cronmon.ini&  # 启动程序
$ uwsgi --stop /var/run/uwsgi_cronmon.pid  # 停止程序
如果将cronmon安装成服务(使用production/cronmon文件)
$ service cronmon start  # 启动程序
$ service cronmon stop  # 停止程序
使用
- 登录;

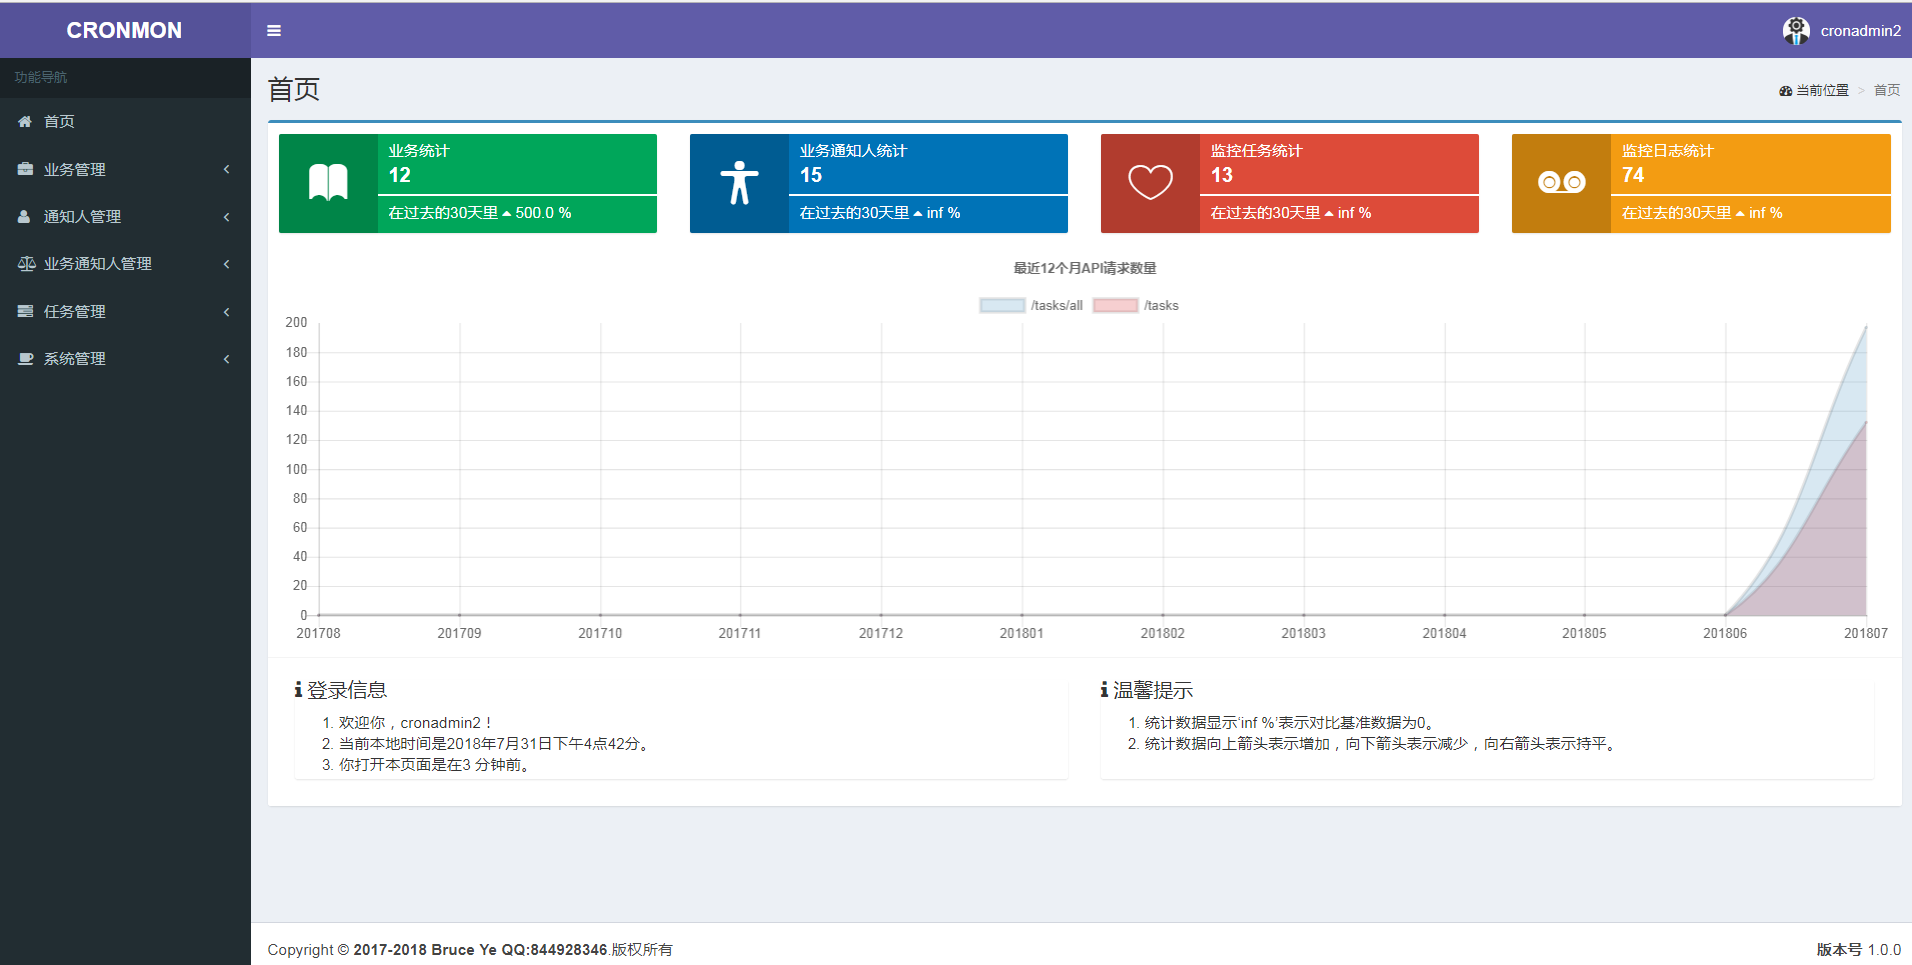
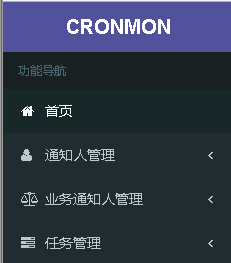
- 登录之后,看到的首页;
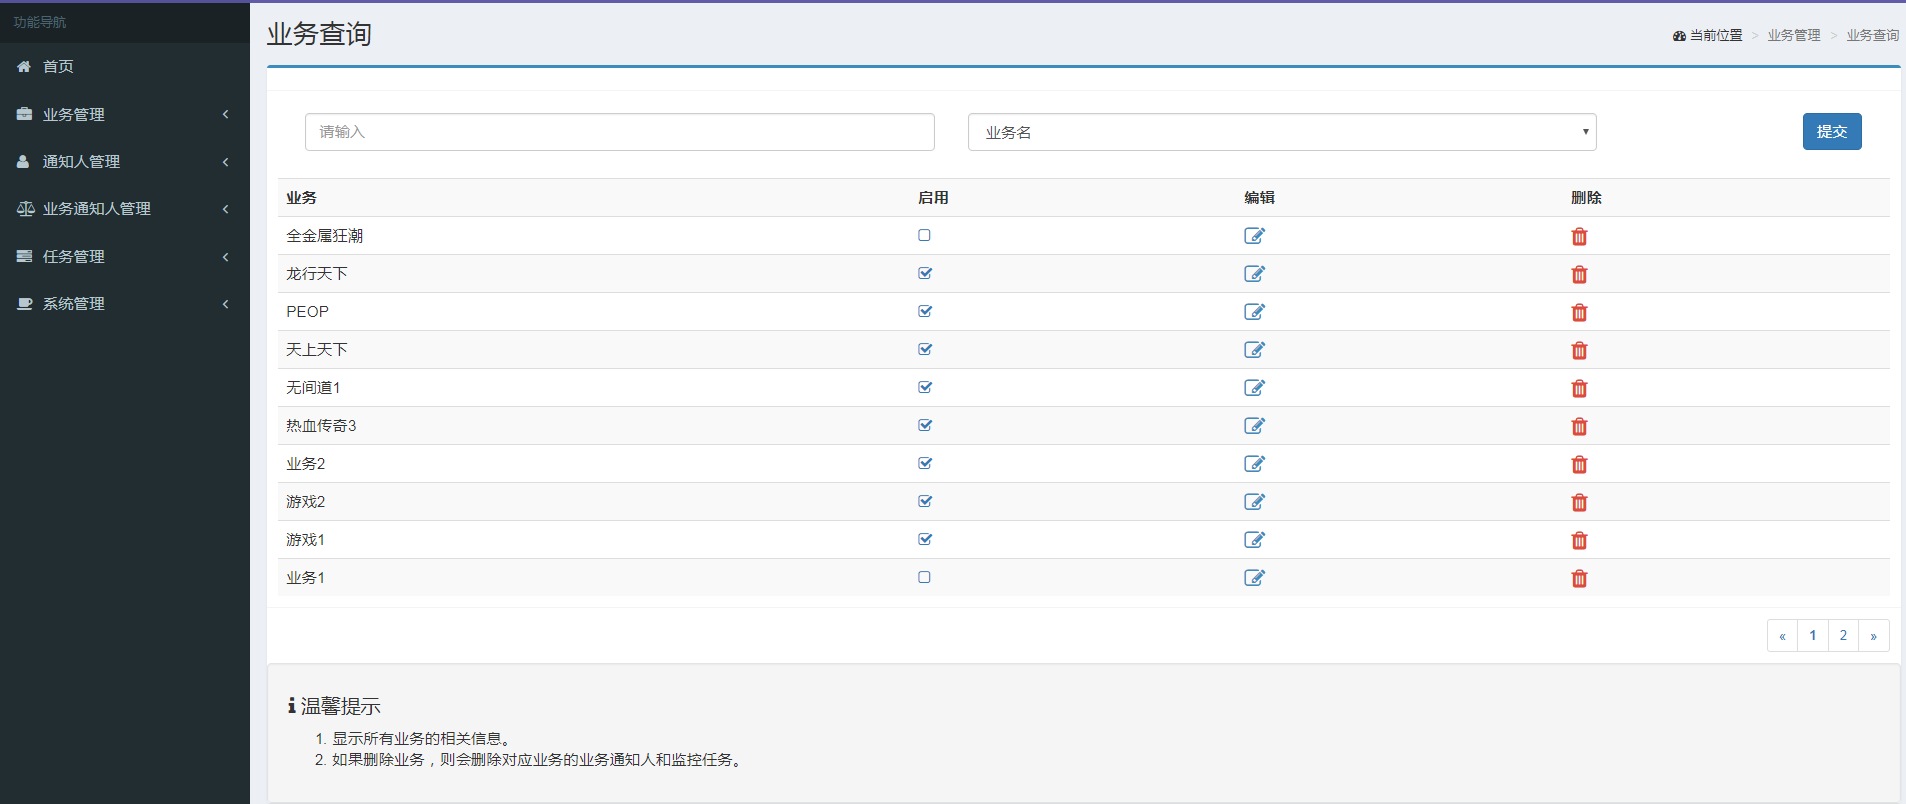
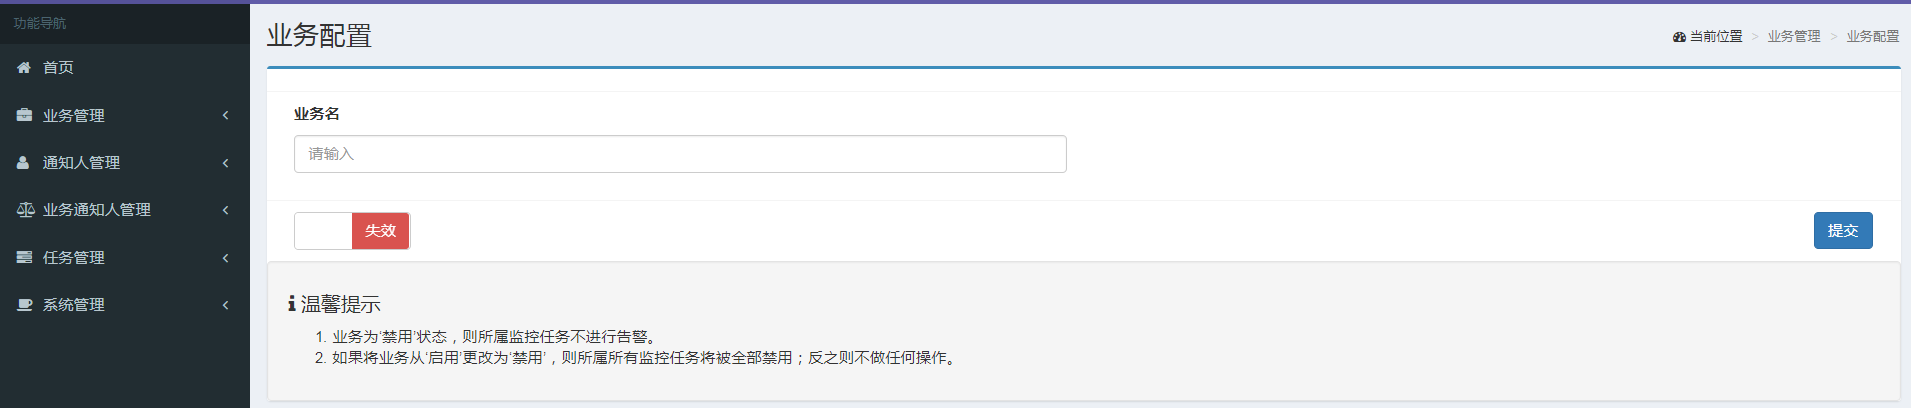
- 业务管理相关操作;
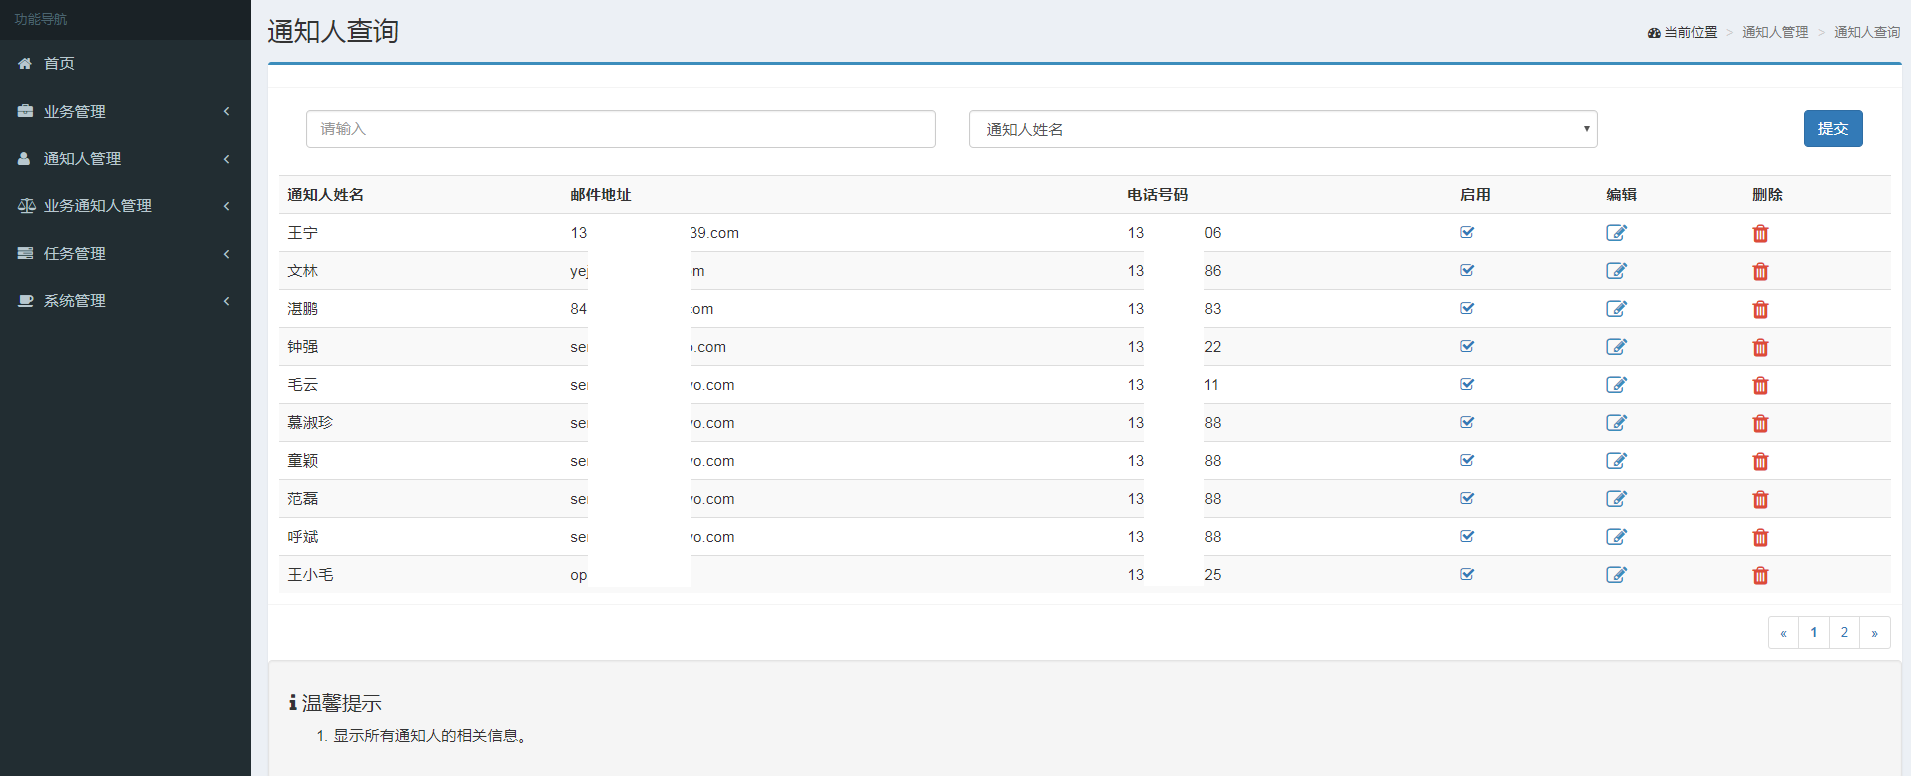
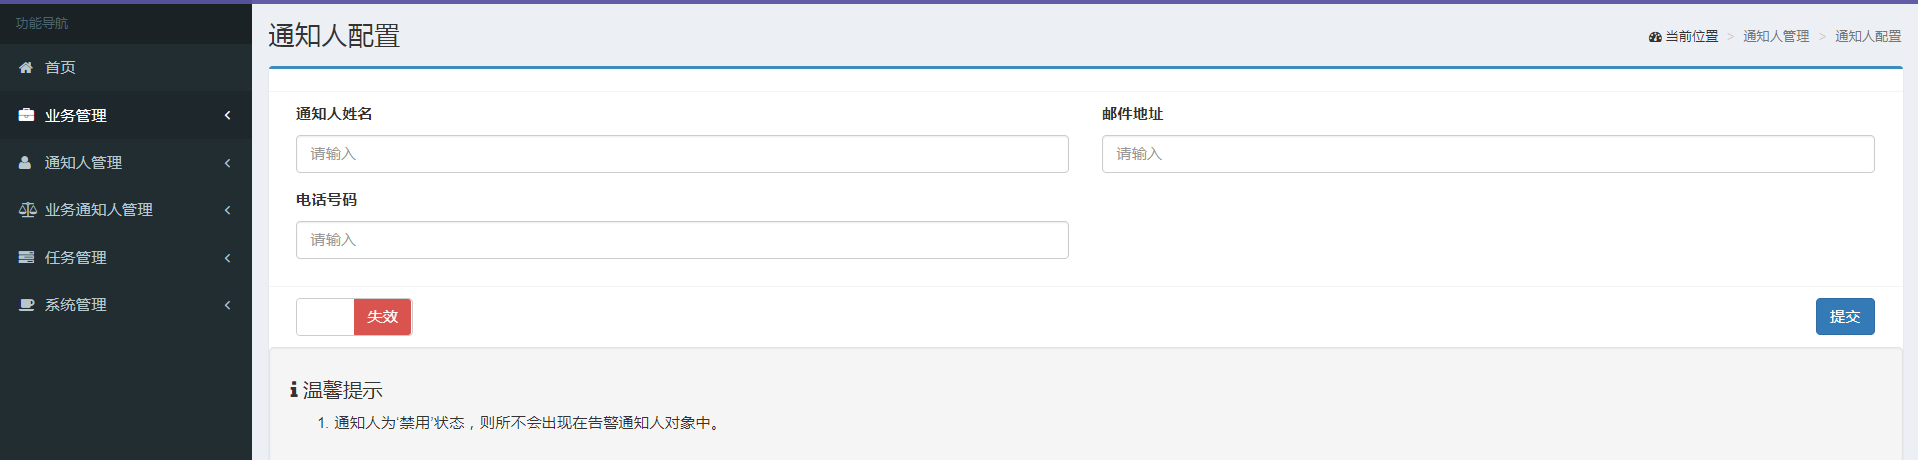
- 通知人管理相关操作;
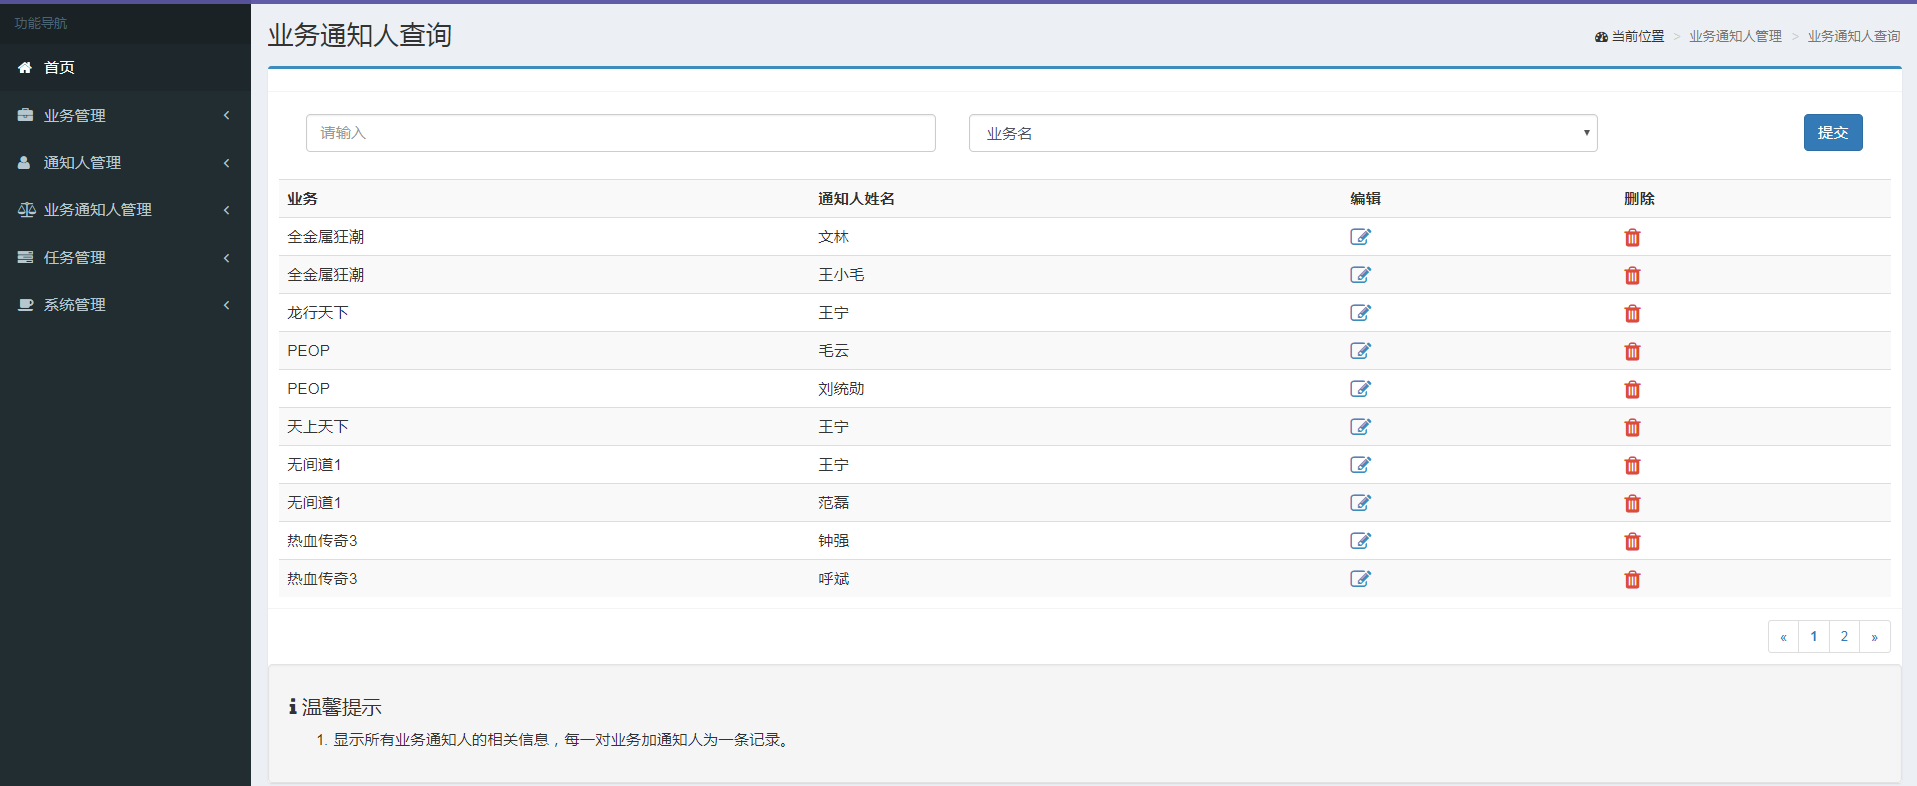
- 业务通知人管理相关操作;

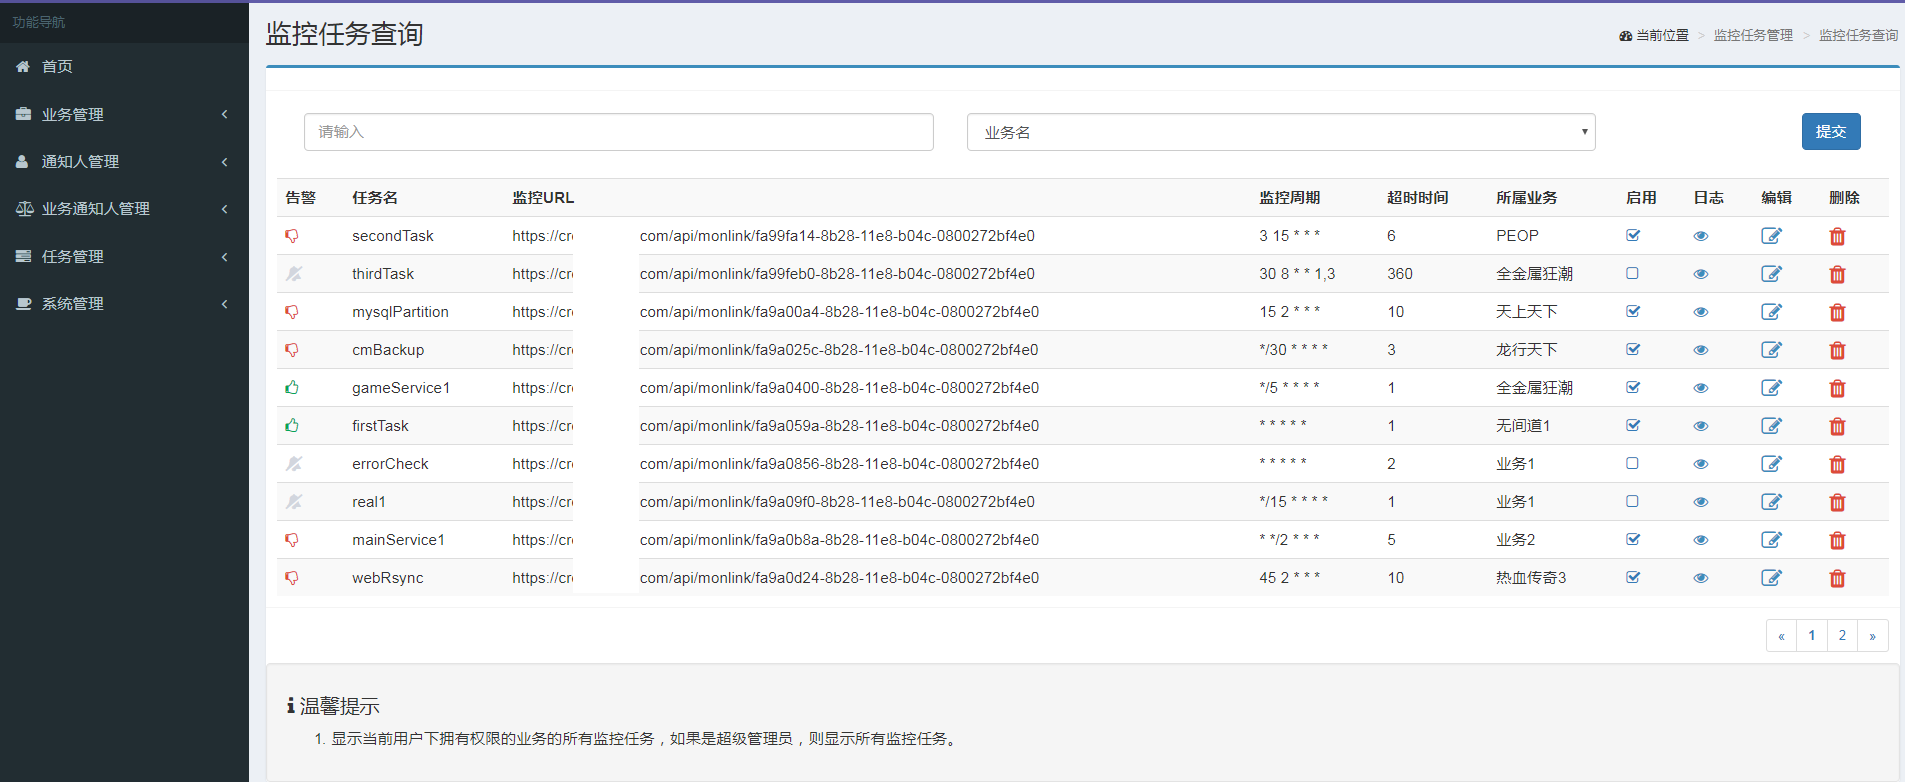
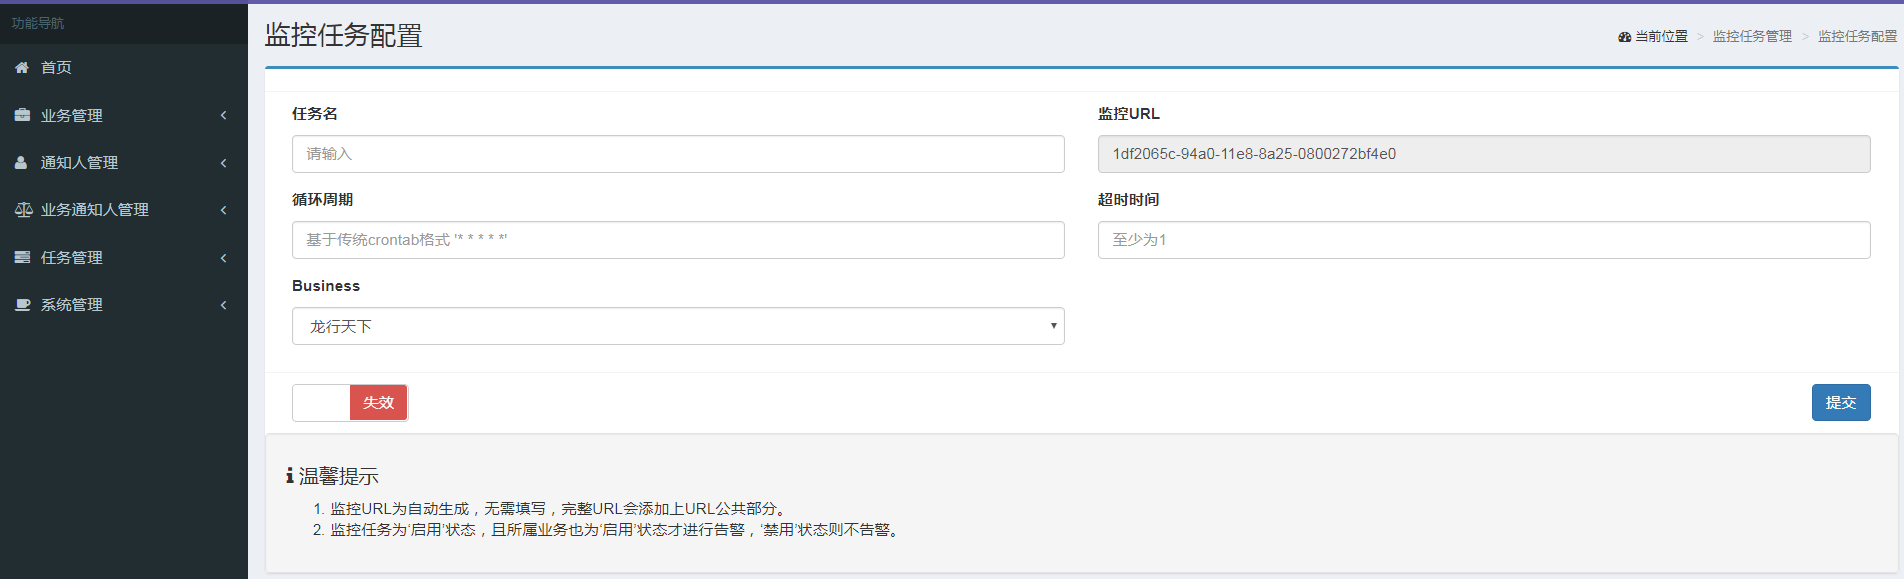
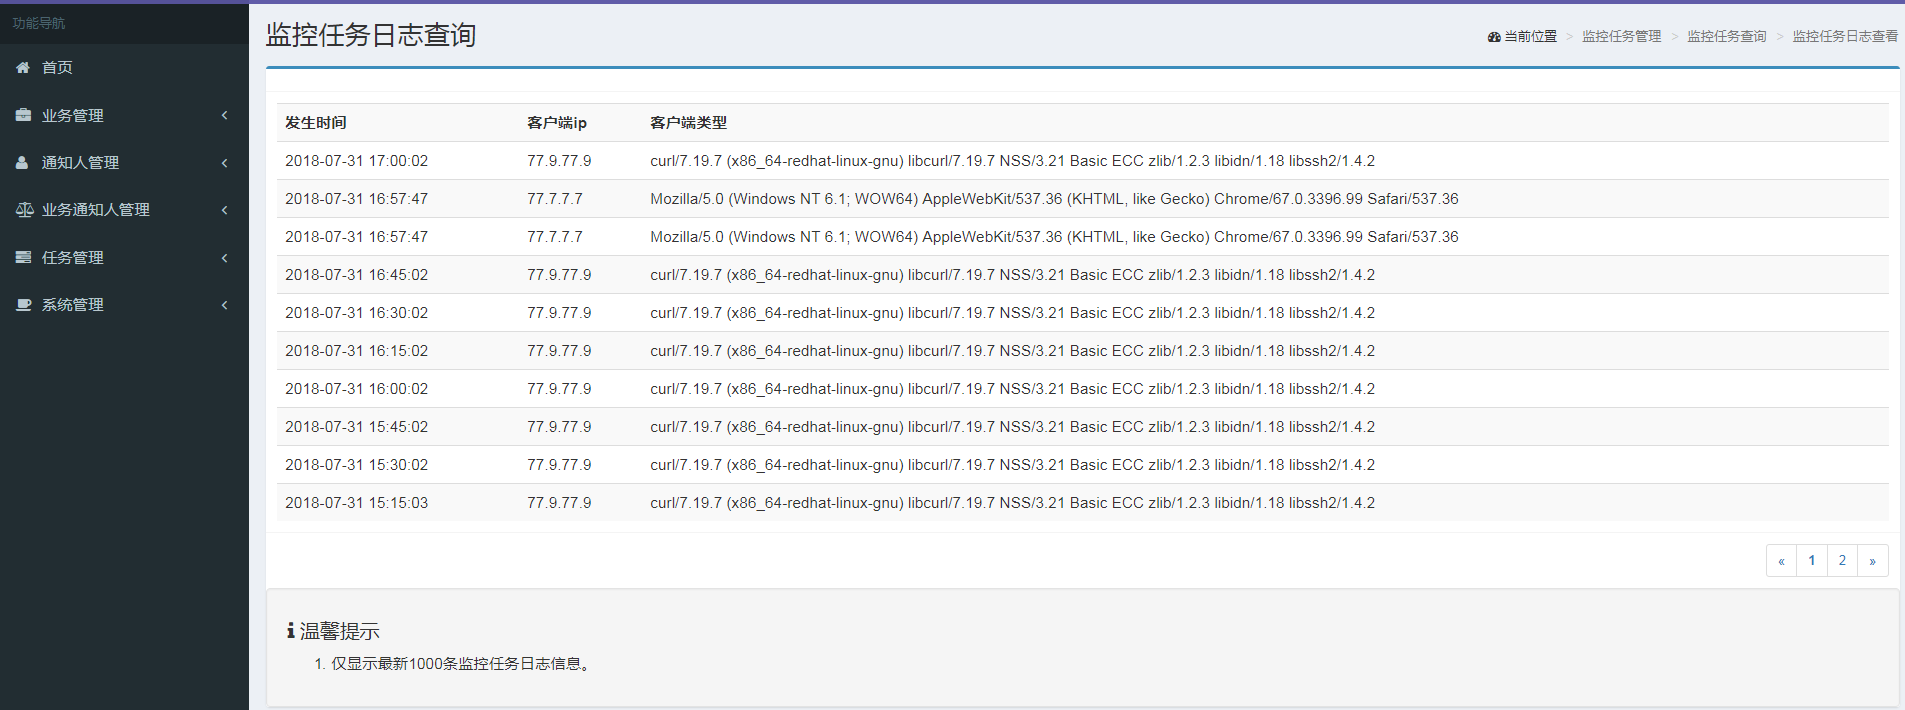
- 任务管理相关操作;
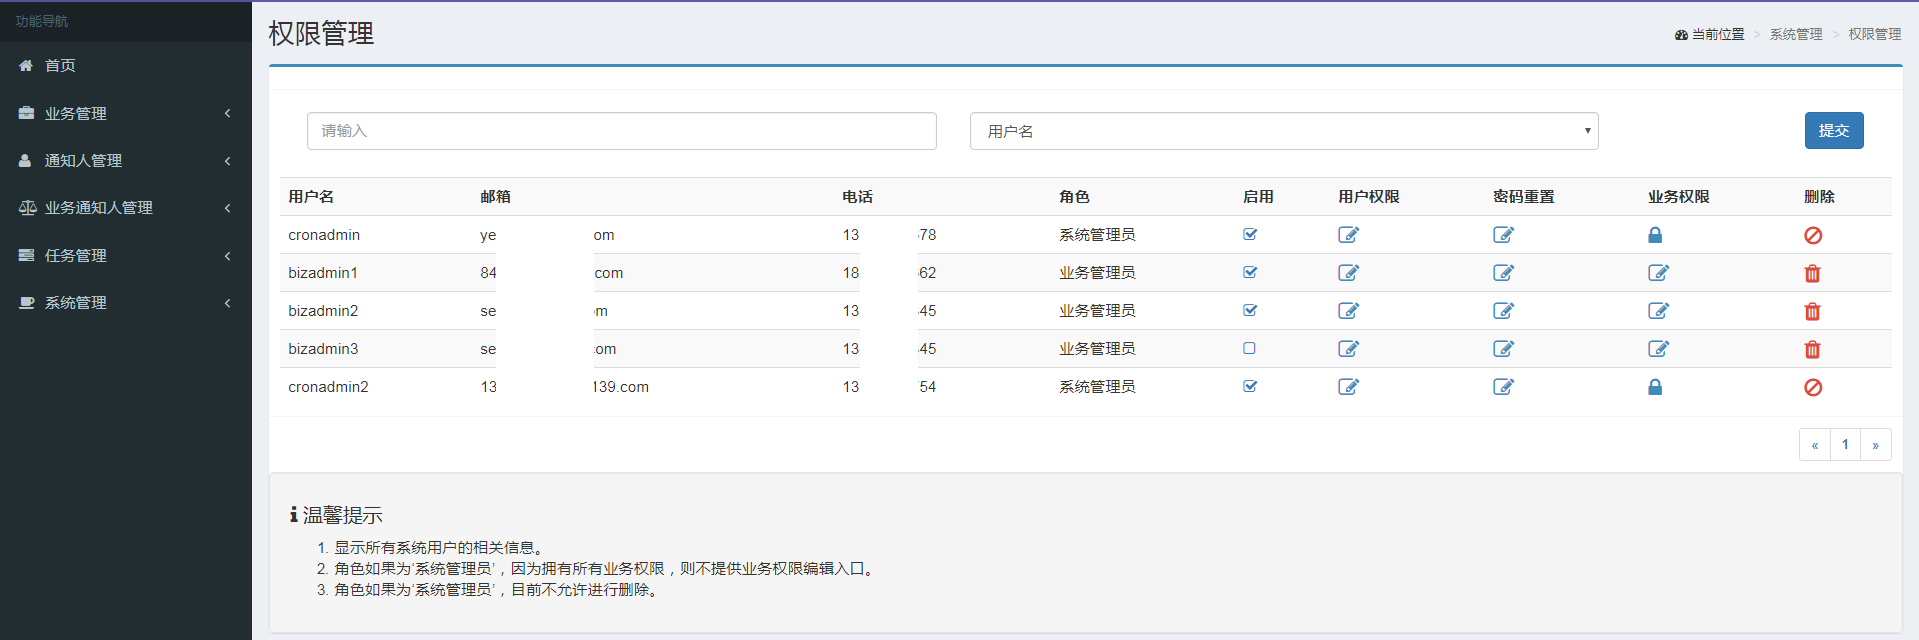
- 系统管理相关操作;
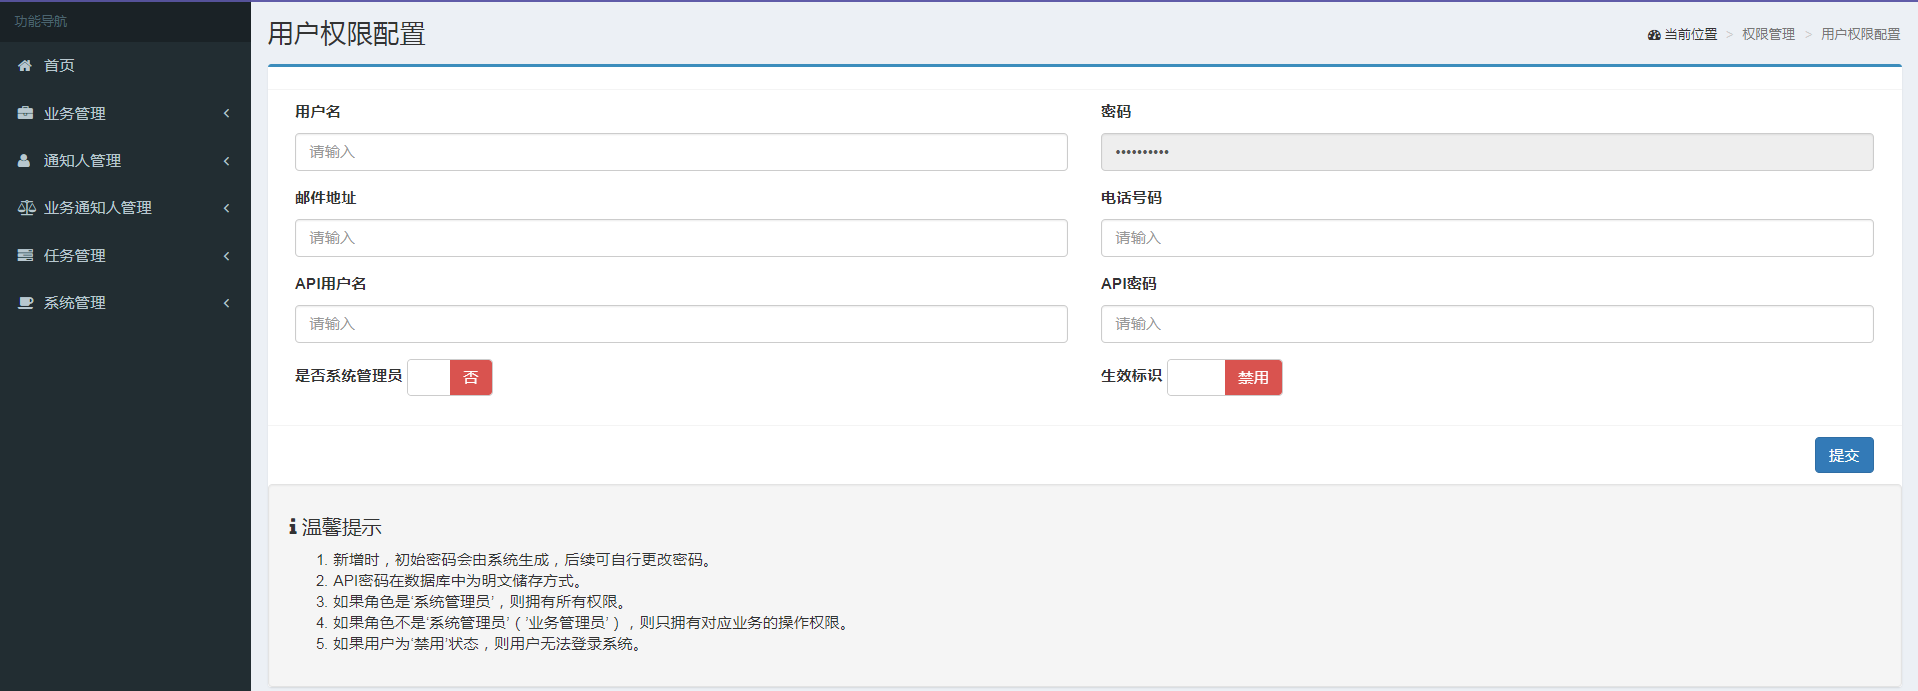
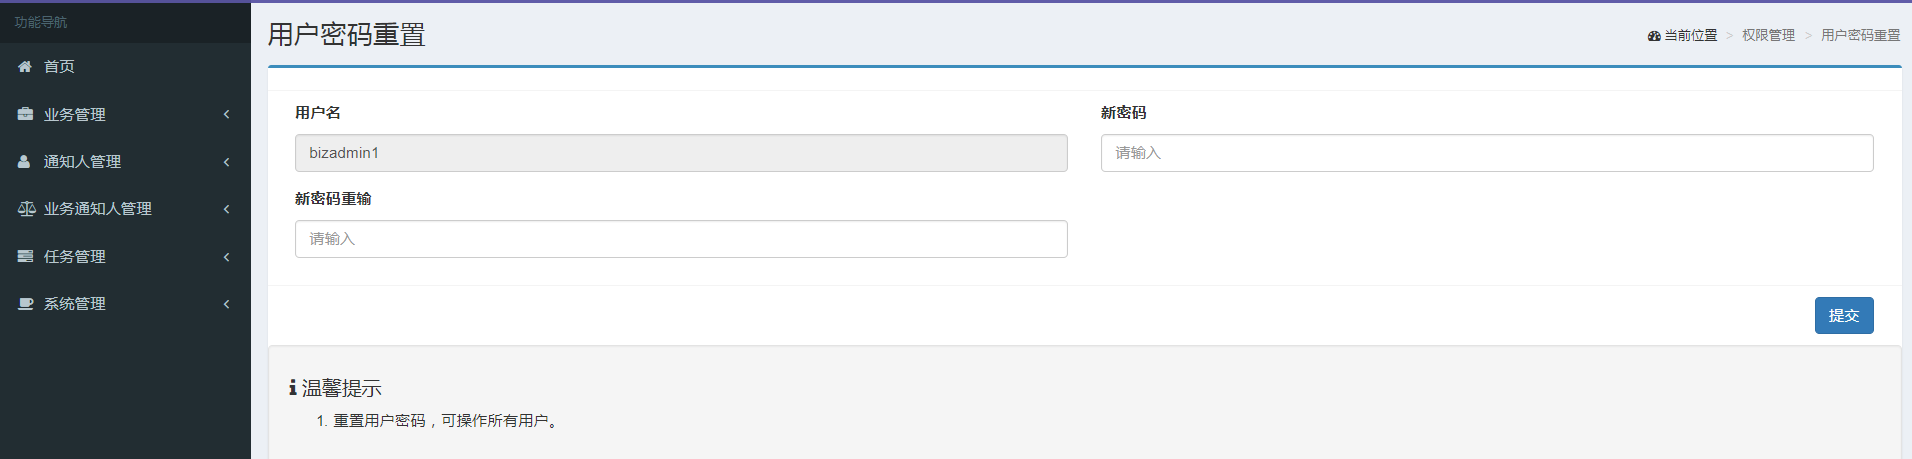

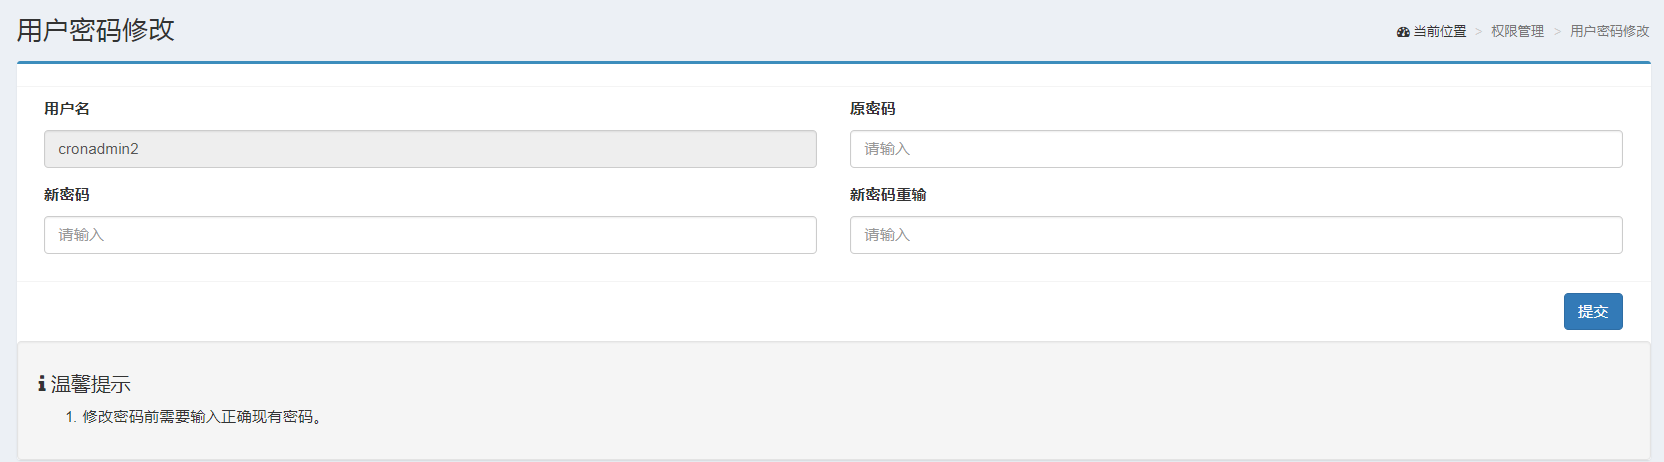
- 用户相关操作;

- 业务管理员(普通用户)操作界面,业务通知人和任务可以查询编辑,通知人仅限查询;
API调用
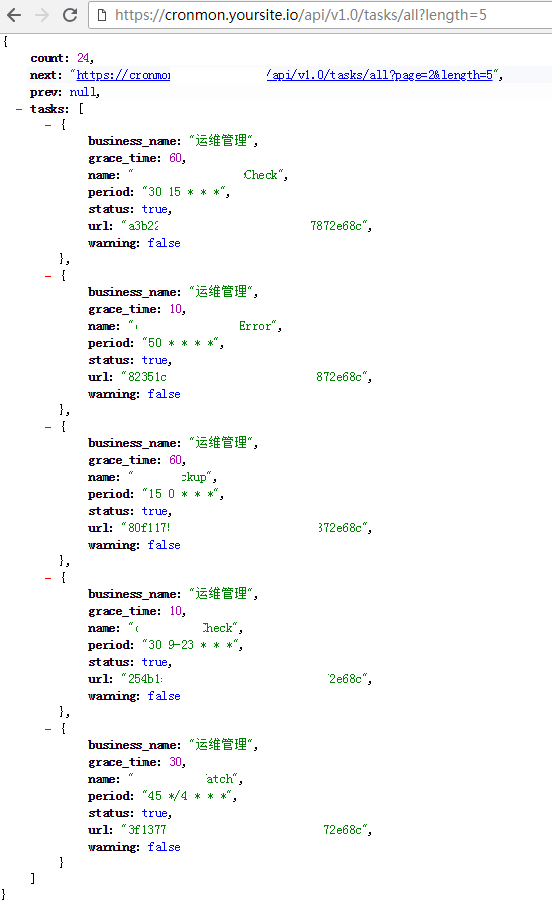
获取所有监控任务
按指定关键字获取任务(业务名、任务名和任务URL)
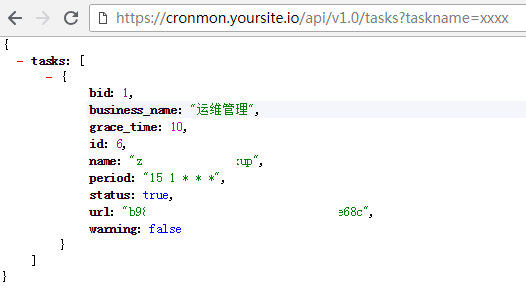
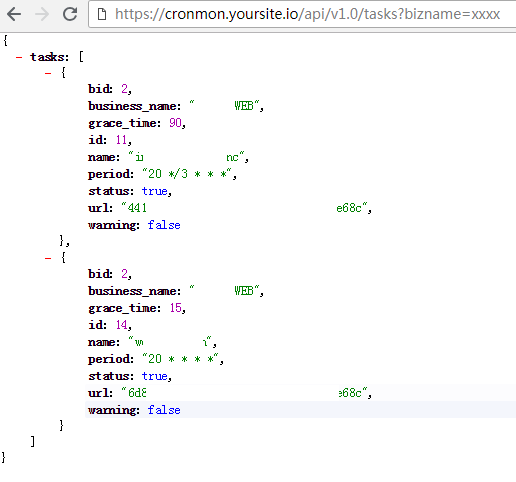
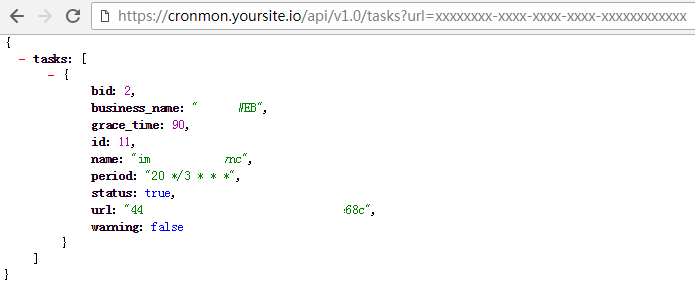
公共参数包括page(显示第几页)和length(每页显示多少记录)
如何使用监控链接
在不同情况下调用任务监控URL的写法
- crontab写法
# system status check
20 * * * * cd /path/to/systemStatusCheck && ./systemStatusCheck.sh > systemStatusCheck.sh.cron.log 2>&1 && curl -kfsS --retry 3 --connect-timeout 10 --ipv4 https://cronmon.yoursite.io/api/monlink/xxxxxxxx-xxxx-xxxx-xxxx-xxxxxxxxxxxx >> systemStatusCheck.sh.cron.log 2>&1- bash写法
$ curl -kfsS --retry 3 --connect-timeout 10 --ipv4 https://cronmon.yoursite.io/api/monlink/xxxxxxxx-xxxx-xxxx-xxxx-xxxxxxxxxxxx- python写法
>>> import requests
>>> requests.get('https://cronmon.yoursite.io/api/monlink/xxxxxxxx-xxxx-xxxx-xxxx-xxxxxxxxxxxx')
生产环境
- 服务启停
以CentOS为例,首先编辑相关变量

然后将启动脚本(production/init.d/cronmon)放入/etc/init.d目录
$ service cronmon help
Usage: cronmon {start|stop|restart|reload|status|help}
$ chkconfig --level 35 cronmon on # 加入开机启动- 日志分区
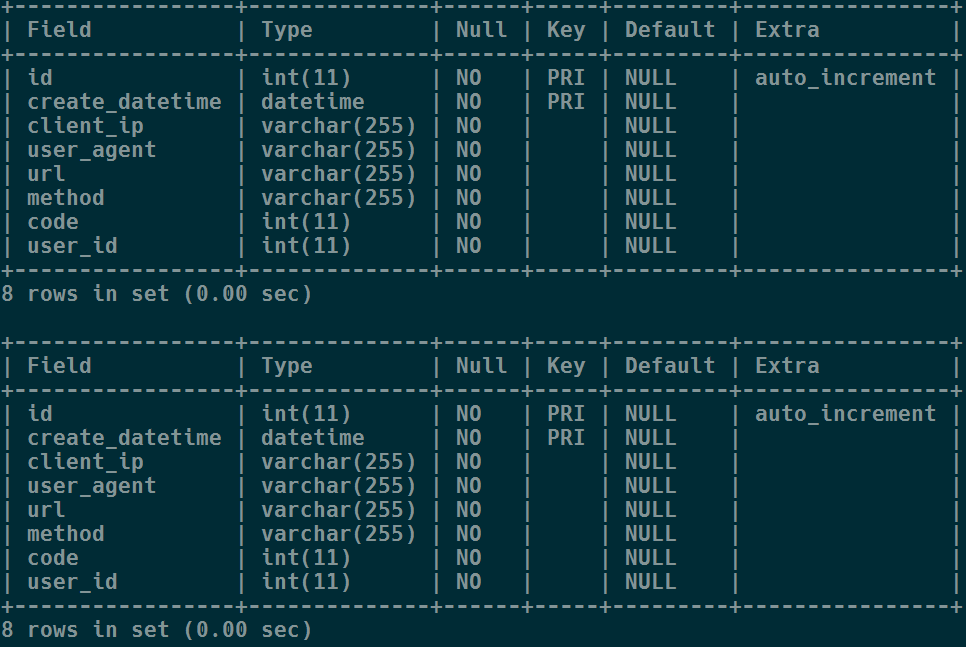
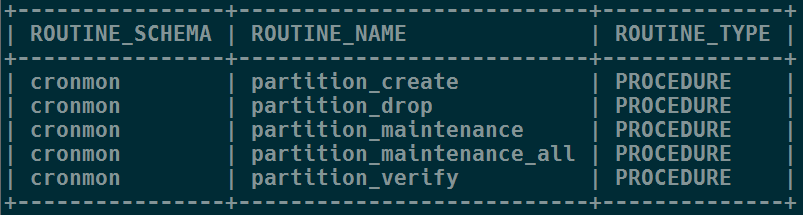
针对日志表数据,为了方便管理和提高效率,使用mysql分区,首先导入存储过程创建sql文件(production/cronmonPartition.sql), 脚本首先修改表结构,添加了复合主键(id+create_datetime),然后创建了所需的5个存储过程,脚本基于zabbix分区创建脚本进行修改 (链接https://www.zabbix.org/wiki/Docs/howto/mysql_partition#MySQL_Database_Partitioning),执行脚本后结果如下:
对应的shell脚本

对应的crontab配置
# cronmon mysql partition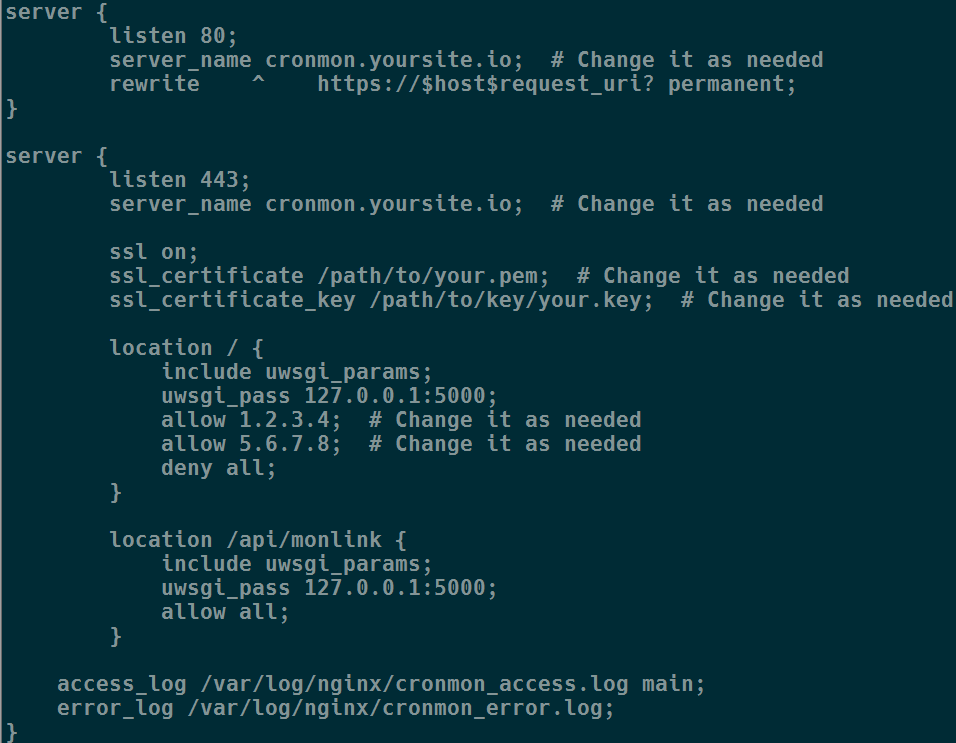
15 0 * * * cd /path/to/cronmonMysqlPartition && ./cronmonMysqlPartition.sh > cronmonMysqlPartition.sh.cron.log 2>&1 && curl -kfsS --retry 3 --connect-timeout 10 --ipv4 https://cronmon.yoursite.io/api/monlink/xxxxxxxx-xxxx-xxxx-xxxx-xxxxxxxxxxxx >> cronmonMysqlPartition.sh.cron.log 2>&1- WebService配置
以nginx为例
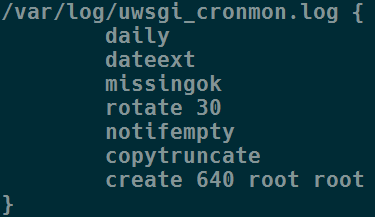
- 日志轮转
以logrotate为例
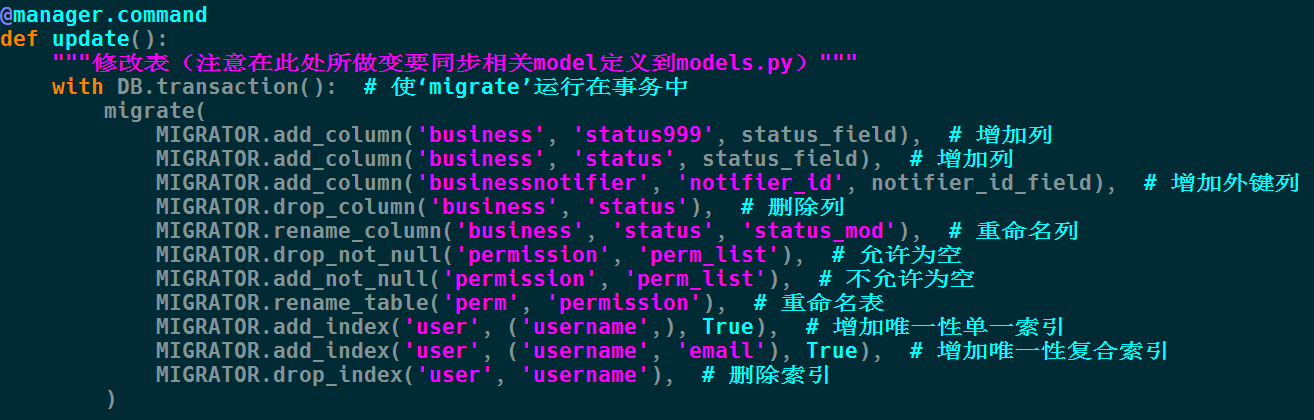
数据库结构变更
如果要新增表或者修改表结构,通过如下方式进行:
$ vim migrate.py # 修改表结构定义文件
压力测试
- 配置调整
uwsgi相关配置
系统相关配置
# echo 'net.core.somaxconn=4096' >> /etc/sysctl.conf- 压测表现
使用ab对监控链接进行压力测试,10000并发无错误(目前只测试到10000并发,未测试更高并发),客户端和服务端网络延迟在11ms左右:
$ ab -n 50000 -c 10000 https://cronmon.yoursite.com/api/monlink/ba60afc4-f162-11e8-a56a-001b7872e686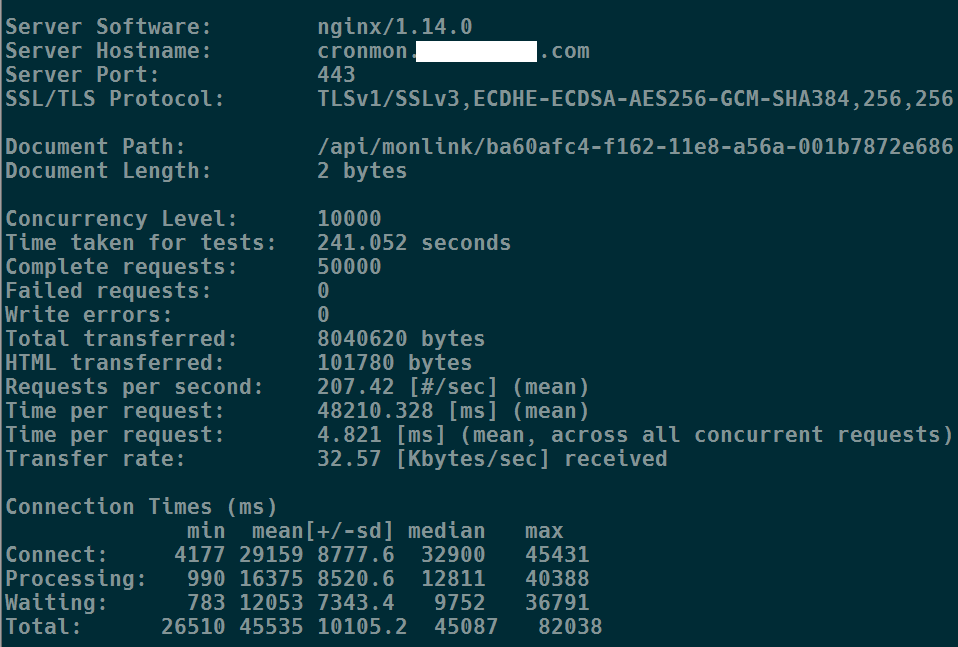
贡献
如果您想贡献代码,只需fork本仓库,然后push您的更改并发送pull请求。
获取帮助
如果您有任何问题或建议,请在此仓库中打开一个issue,我会尽力提供帮助。
