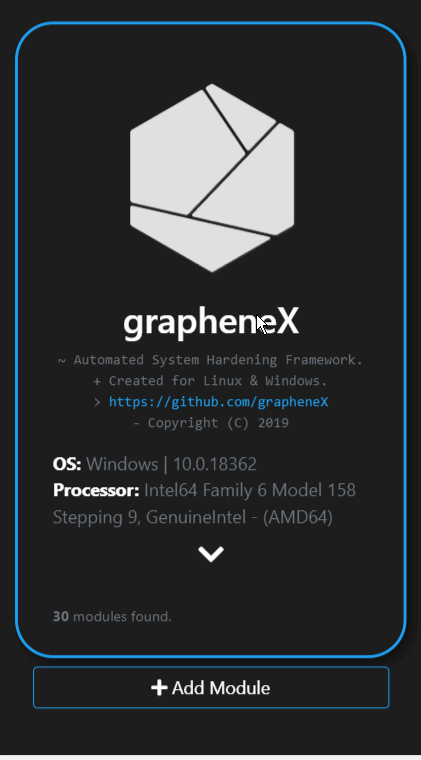
grapheneX 


In computing, hardening is usually the process of securing a system by reducing its surface of vulnerability, which is larger when a system performs more functions; in principle a single-function system is more secure than a multipurpose one. Reducing available ways of attack typically includes changing default passwords, the removal of unnecessary software, unnecessary usernames or logins, and the disabling or removal of unnecessary services.
grapheneX project aims to provide a framework for securing the system with hardening commands automatically.
It's designed for the end user as well as the Linux and Windows developers due to the interface options. (interactive shell/web interface)
In addition to that, grapheneX can be used to secure a web server/application.
The project name is derived from 'graphene'. Graphene is a one-atom-thick layer of carbon atoms arranged in a hexagonal lattice. In proportion to its thickness, it is about 100 times stronger than the strongest steel.
Hardening commands and the scopes of those commands are referred to modules and the namespaces in the project.
They exist at the modules.json file after installation. ($PYPATH/site-packages/graphenex/modules.json)
Additionally, it's possible to add, edit or remove modules and namespaces.
Also, the hardening operation can be automated with the presets that contain a list of modules.
Currently, grapheneX supports the hardening sections below. Each of these namespaces contains more than one module.
• Firewall
• User
• Network
• Services
• Kernel
• Filesystem
• Other
Listen to The Python Podcast.__init__: Automate Your Server Security With GrapheneX - Episode 237
Installation
You can install grapheneX with pip. Usually this is the easiest way:
pip install graphenex
Or if you get an error try:
python3 -m pip install graphenex
Additionally, poetry can be used for development:
poetry install        # install the dependencies
poetry run grapheneX  # run grapheneX
Dependencies
Usage
Command Line Arguments
usage: grapheneX [-h] [-v] [-w] [--open] [host:port]
positional arguments:
  host:port      host and port to run the web interface

optional arguments:
  -h, --help     show this help message and exit
  -v, --version  show version information
  -w, --web      run the grapheneX web server
  --open         open browser on web server start
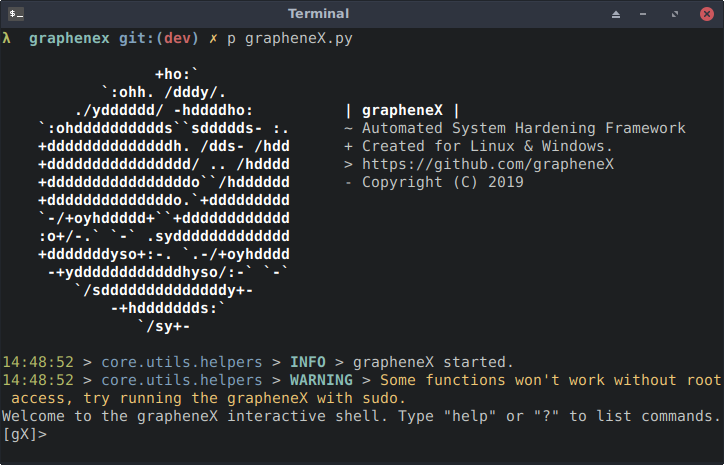
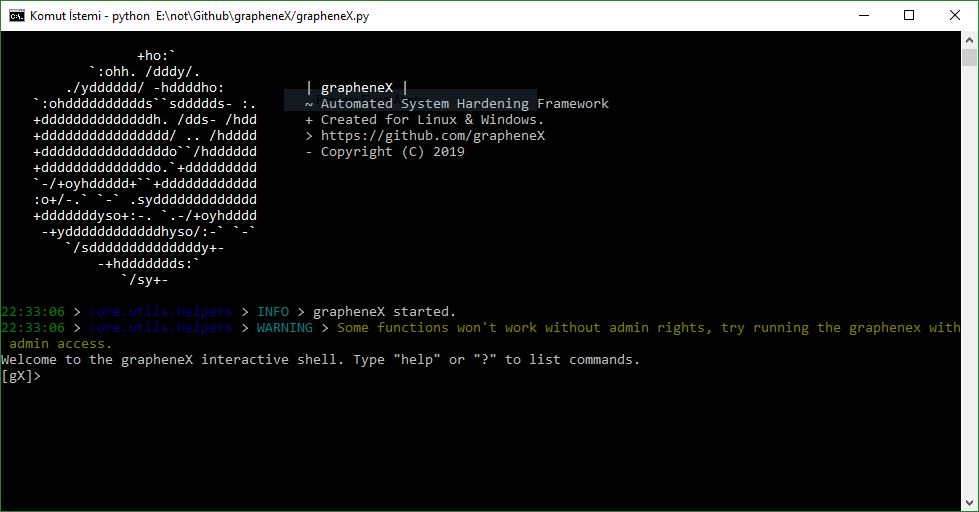
Interactive Shell
Execute the grapheneX command in order to start the interactive shell.

• Animated gifs and screenshots added for demonstration and include the test execution of the unversioned grapheneX. Use grapheneX or python -m graphenex command for the execution.
• grapheneX currently supports Python3.10
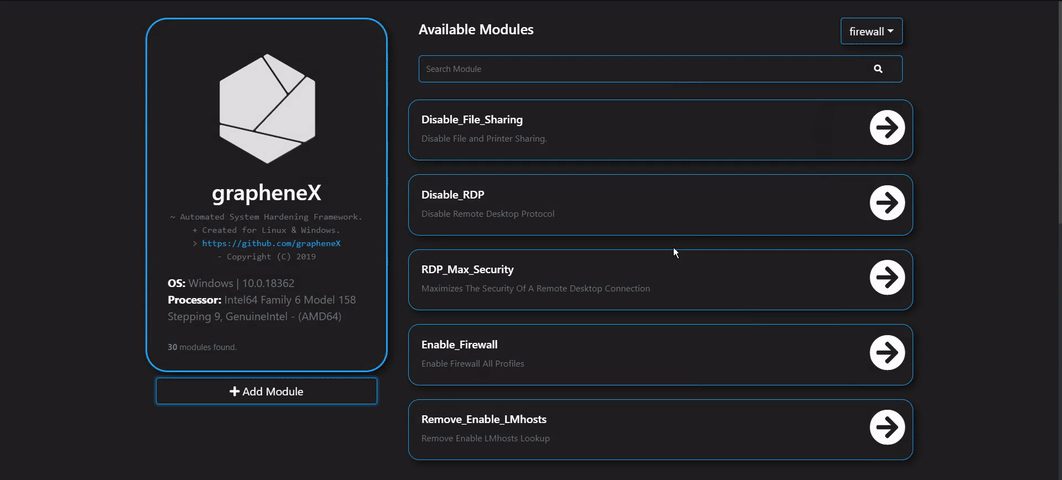
Web Interface
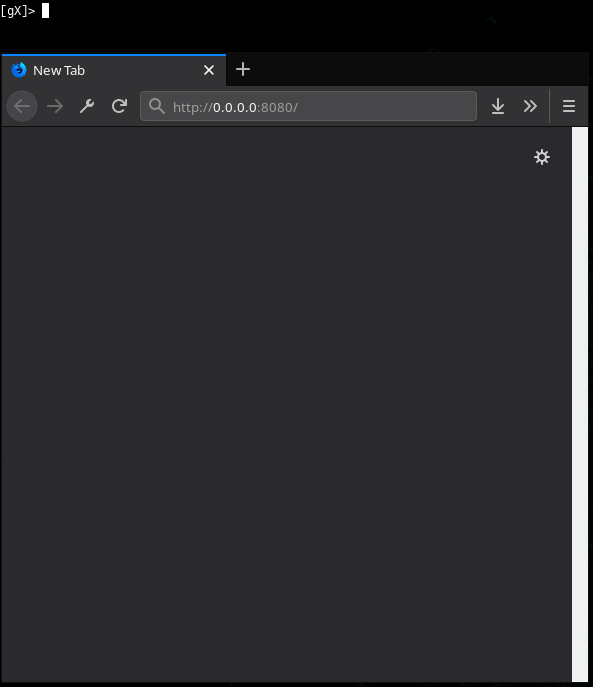
Execute the grapheneX with the -w or --web argument in order to start the web server.

• Web interface has the authentication system that requires an access token. Once the user verifies her/his identity with the given token at the shell, grapheneX creates a session for further use.
• The default host and port value are localhost:8080. It can be changed via the host:port argument as shown below.
python3 -m graphenex -w 192.168.1.36:8090
• Use --open argument to open the browser after the server start.
python3 -m graphenex -w --open
CLI Commands
| Command | Description |
|---|---|
| back | Go back from namespace or module |
| clear | Clear the terminal |
| exit | Exit interactive shell |
| harden | Execute the hardening command |
| help | List available commands with "help" or show detailed help with "help <cmd>" |
| info | Show information about the module |
| list | List available hardening modules |
| manage | Add, edit or delete module |
| preset | Show/execute the hardening module presets |
| search | Search for modules |
| switch | Switch between modules or namespaces |
| use | Use a hardening module |
| web | Start the grapheneX web server |
help
help or ? shows the commands list above.
help [CMD] shows the detailed usage of given command.
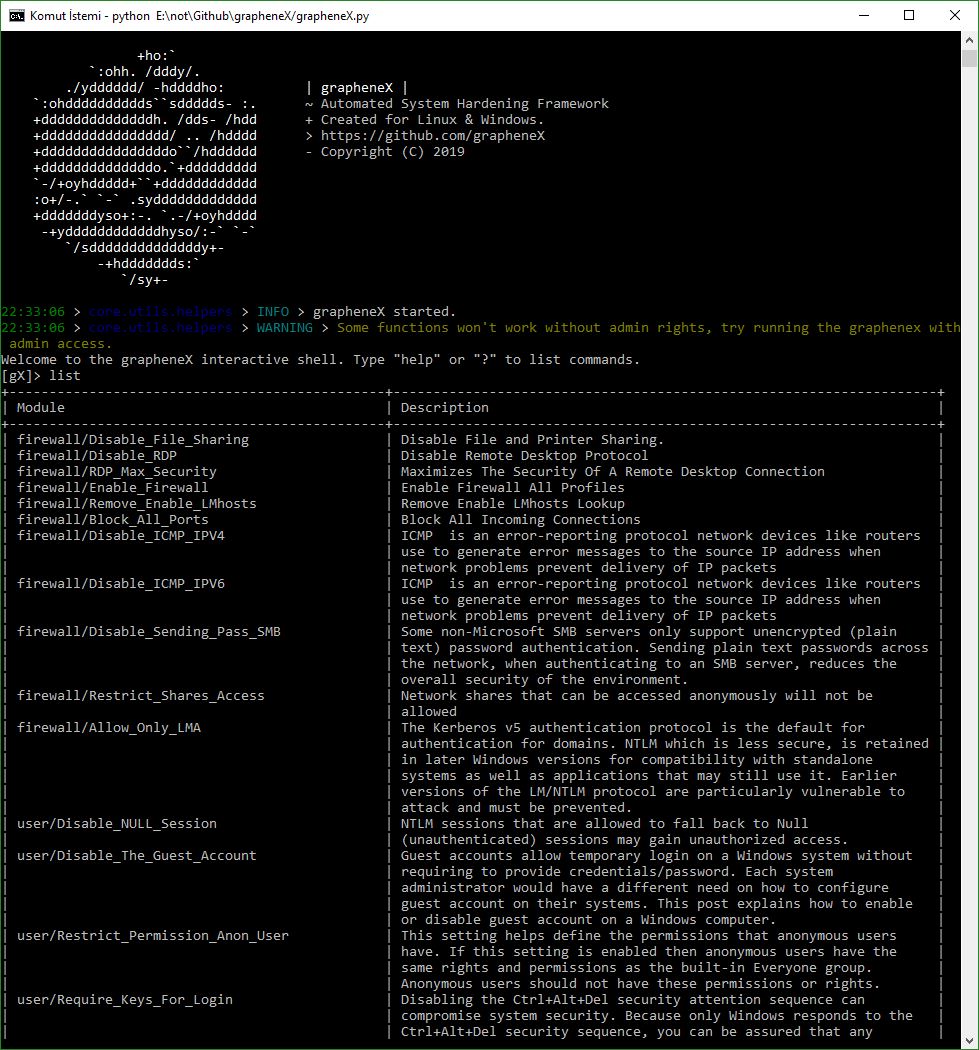
list
Show the available modules in a table. For example:

switch
switch command can be used to switch to a namespace or use a module. It's helpful if you want to see a list of modules in a namespace.
switch [NAMESPACE]

• Supports autocomplete for namespaces.
Also, using the switch command like this is possible:
switch [NAMESPACE]/[MODULE]
It's the equivalent of the use command in this situation.
use
Serves the purpose of selecting a hardening module.
use [MODULE]
• Supports autocomplete for modules.
info
Shows information (namespace, description, OS command) about the selected module.

harden
Executes the hardening command of the selected module.

preset
grapheneX has presets that contain particular modules for automating the hardening operation. Presets can be customized with the modules.json file, and they can contain any supported module. preset command shows the available module presets and preset [PRESET] runs the hardening commands in a preset.
An example preset command output is shown above. Below, a preset that contains 2 modules is selected and hardening modules executed.

preset command supports autocomplete for preset names. Also, it supports an option for asking permission between each hardening command execution so that the user knows what he/she is doing.
• Adding module presets
Presets are stored in the presets element inside the modules.json file. This JSON file can be edited for updating the presets.
"presets": [
        {
            "name": "Preset_1",
            "modules": [
                "namespace1/Module_Name1",
                "namespace2/Module_Name2",
            ],
            "target_os": "linux/win"
        },
        {
            "name": "Preset_2",
            "modules": [
                "namespace/All"
            ],
            "target_os": "linux/win"
        }
    ]
namespace/All means every hardening command in that namespace will be executed.
search
search [QUERY]
manage
manage command allows to add, edit or remove modules.
• Adding modules with manage
Follow the instructions for adding a new module. Choose the 'new' option in the namespace prompt for creating a new namespace.

• Adding modules manually
grapheneX stores the modules and namespaces in modules.json file. It will show up as a new module when a new element is created in this JSON file. An example element is given below.
"namespace": [
        {
            "name": "Module_Name",
            "desc": "This is the module description.",
            "command": "echo 'hardening command'",
            "require_superuser": "True/False",
            "require_restart": "True/False",
            "target_os": "linux/win"
        }
    ]
It's recommended to add modules from CLI or the Web interface other than editing the modules.json file.
• Editing modules
Choose the edit option after the manage command for the editing the module properties.

Or edit the modules.json manually.
• Removing modules
Choosing the remove option in the manage menu will be enough for removing the specified module. It's also possible to remove the module from modules.json manually.

web
Starts the grapheneX web server with the optional host:port argument.
web [host:port]
back
Go back from selected namespace or module.
clear
Clear terminal
exit
Exit interactive shell
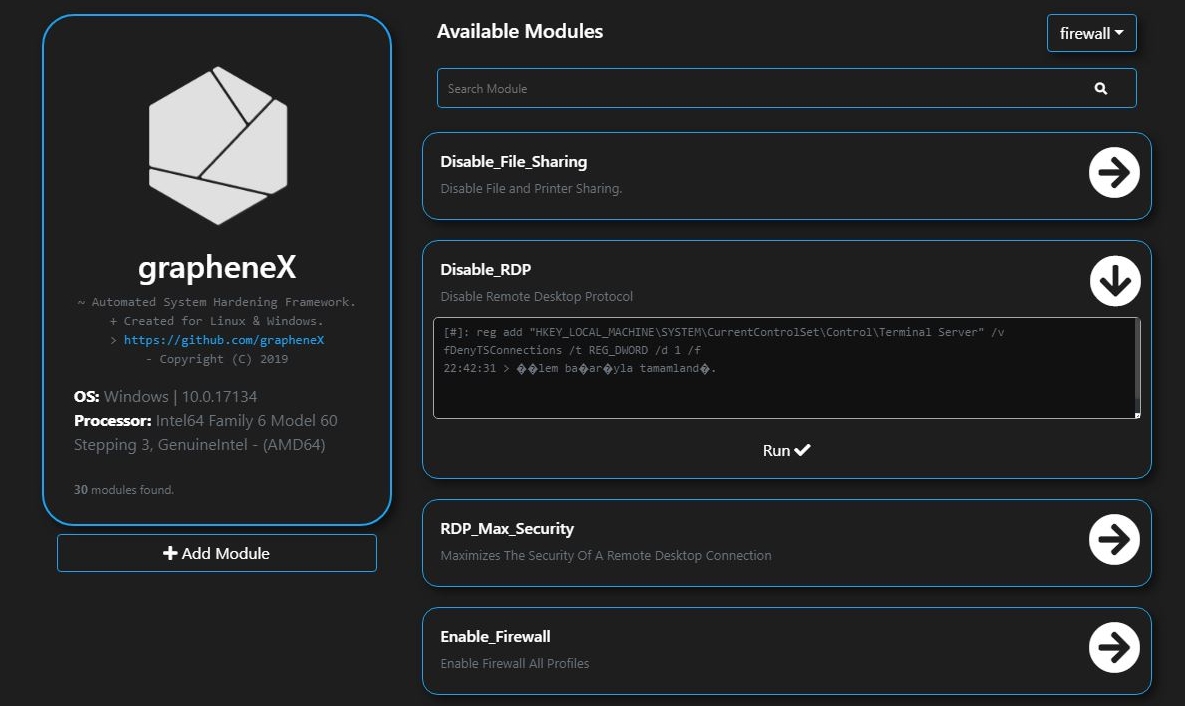
Web
Most of the command line features are accessible with the Web interface.
Namespaces & Modules
It's easy to switch between namespaces and see details of modules.

Hardening
Just click run under the module properties for executing the hardening command.
Adding Modules
There's a menu available in the web interface for adding new modules.
System Monitor
It's possible to display various system information such as disk usage and network state at the Web interface.
Docker
Building the image
docker build -f docker/Dockerfile -t graphenex .Running the container
docker run -it --rm --name graphenex -p 8080:8080 --privileged graphenexScreenshots

TODO(s)
- Add new modules for Linux and Windows.
Contributing
For contributing to this project, see CONTRIBUTING.md
Contributors ✨
Thanks goes to these wonderful people ✨
Made with contrib.rocks.
Sponsors
We don't have any sponsors yet. Contact us with email if you want to help us improve the project.


![allcontributors[bot]](https://avatars.githubusercontent.com/u/46447321?size=120)

![dependabot[bot]](https://avatars.githubusercontent.com/u/49699333?size=120)


