django-userlog
Goals
django-userlog is a lightweight solution to see in real-time how a given user is browsing a Django website. The intended use case is live customer support.
(Note that "synchronized browsing" is a much better solution. Modern live customer support solutions often provide this feature — if you can afford it!)
Requirements
This application requires Django ≥ 1.7 and Python ≥ 3.3 or 2.7. It uses a Redis server as storage backend.
Your website must be using Django's auth framework. The target user must be authenticated and you must be able to obtain their username. How you achieve this depends a lot on your project and on how you interact with the user.
Configuration
Install django-userlog and its dependencies in your project's virtualenv:
pip install django-userlog
pip install django-redis-cache hiredis redis
In order to use the live logs, you need some extra dependencies:
pip install asyncio_redis websockets
pip install asyncio                     # only for Python 3.3
If your project is running on Python ≥ 3.3, install everything in the same virtualenv. If your project requires Python 2.7, either you can live with the static logs, or you can create a separate virtualenv with Python ≥ 3.3 for the websockets server that powers the live logs.
Add 'userlog' to your INSTALLED_APPS setting.
Add 'userlog.middleware.UserLogMiddleware' to your MIDDLEWARE_CLASSES
setting. It should come before any middleware that may change the response.
Configure a 'userlog' cache with django-redis-cache. (django-redis
probably works too.) Define its TIMEOUT according to how long you want to
preserve a user's log after his last request. You should select a dedicated
Redis database or set a KEY_PREFIX to prevent clashes. Here's an example:
CACHES = {
    'default': {
        'BACKEND': 'django.core.cache.backends.locmem.LocMemCache',
    },
    'userlog': {
        'BACKEND': 'redis_cache.RedisCache',
        'LOCATION': 'localhost:6379',
        'TIMEOUT': 3600,
        'KEY_PREFIX': 'userlog',
    },
}
By default, django-userlog tracks no more than the latest 25 pages browsed by
each user. You can adjust this value with the USERLOG_MAX_SIZE setting.
If you don't intend to use the live logs, set USERLOG_PUBLISH to False to
decrease the workload of the Redis server.
You can exclude URLs from the logs by setting USERLOG_IGNORE_URLS to a list
of regular expression patterns:
USERLOG_IGNORE_URLS = [
    r'^/favicon\.ico$',
]
In order to use the live logs, you must set the address of the websocket server:
USERLOG_WEBSOCKET_ADDRESS = 'ws://www.example.com:8080/'
Then you must run the websocket server at this address. The easiest solution
is to set the DJANGO_SETTINGS_MODULE environment variable and run the
userlog.realtime module:
DJANGO_SETTINGS_MODULE=myproject.settings python -m userlog.realtime
For more advanced use cases such as embedding the websocket server in an
application or adding TLS, serve the userlog.realtime.userlog with the
websockets library.
Usage
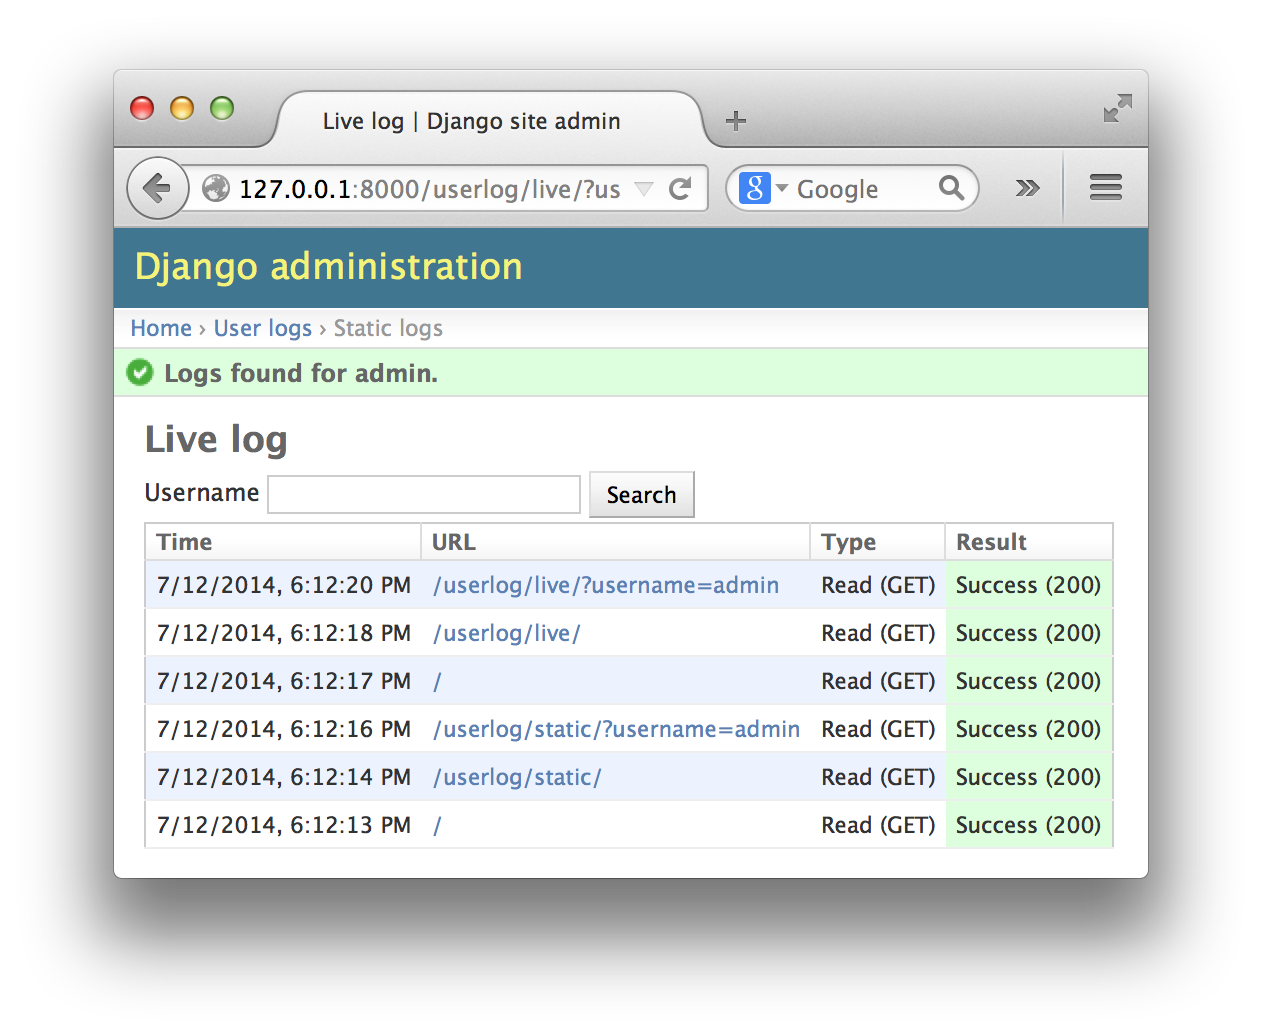
Open the Django admin. In the user logs section, choose between static logs or live logs. Enter a username in the search field. That's it!
Currently, only superusers can view user logs, for lack of a better solution.
FAQ
Why use Django's caching infrastructure to connect to Redis?
It's the easiest way to obtain a properly managed connection to Redis, including connection pooling.
Hacking
If you want to suggest changes, please submit a pull request!
This repository includes a sample project. To try it, clone the repository, create a virtualenv and run these commands:
pip install -r requirements.txt
pip install -e .
DJANGO_SETTINGS_MODULE=userlog.example_settings django-admin.py migrate
DJANGO_SETTINGS_MODULE=userlog.example_settings django-admin.py runserver
Once this basic setup is done, there's a shortcut to start the server:
make example
And another one to start the websocket server:
make realtime
Run the tests:
make test
Compute test coverage:
make coverage
Check your coding stye:
make flake8
License
django-userlog is released under the BSD license, like Django itself.
