highresnet


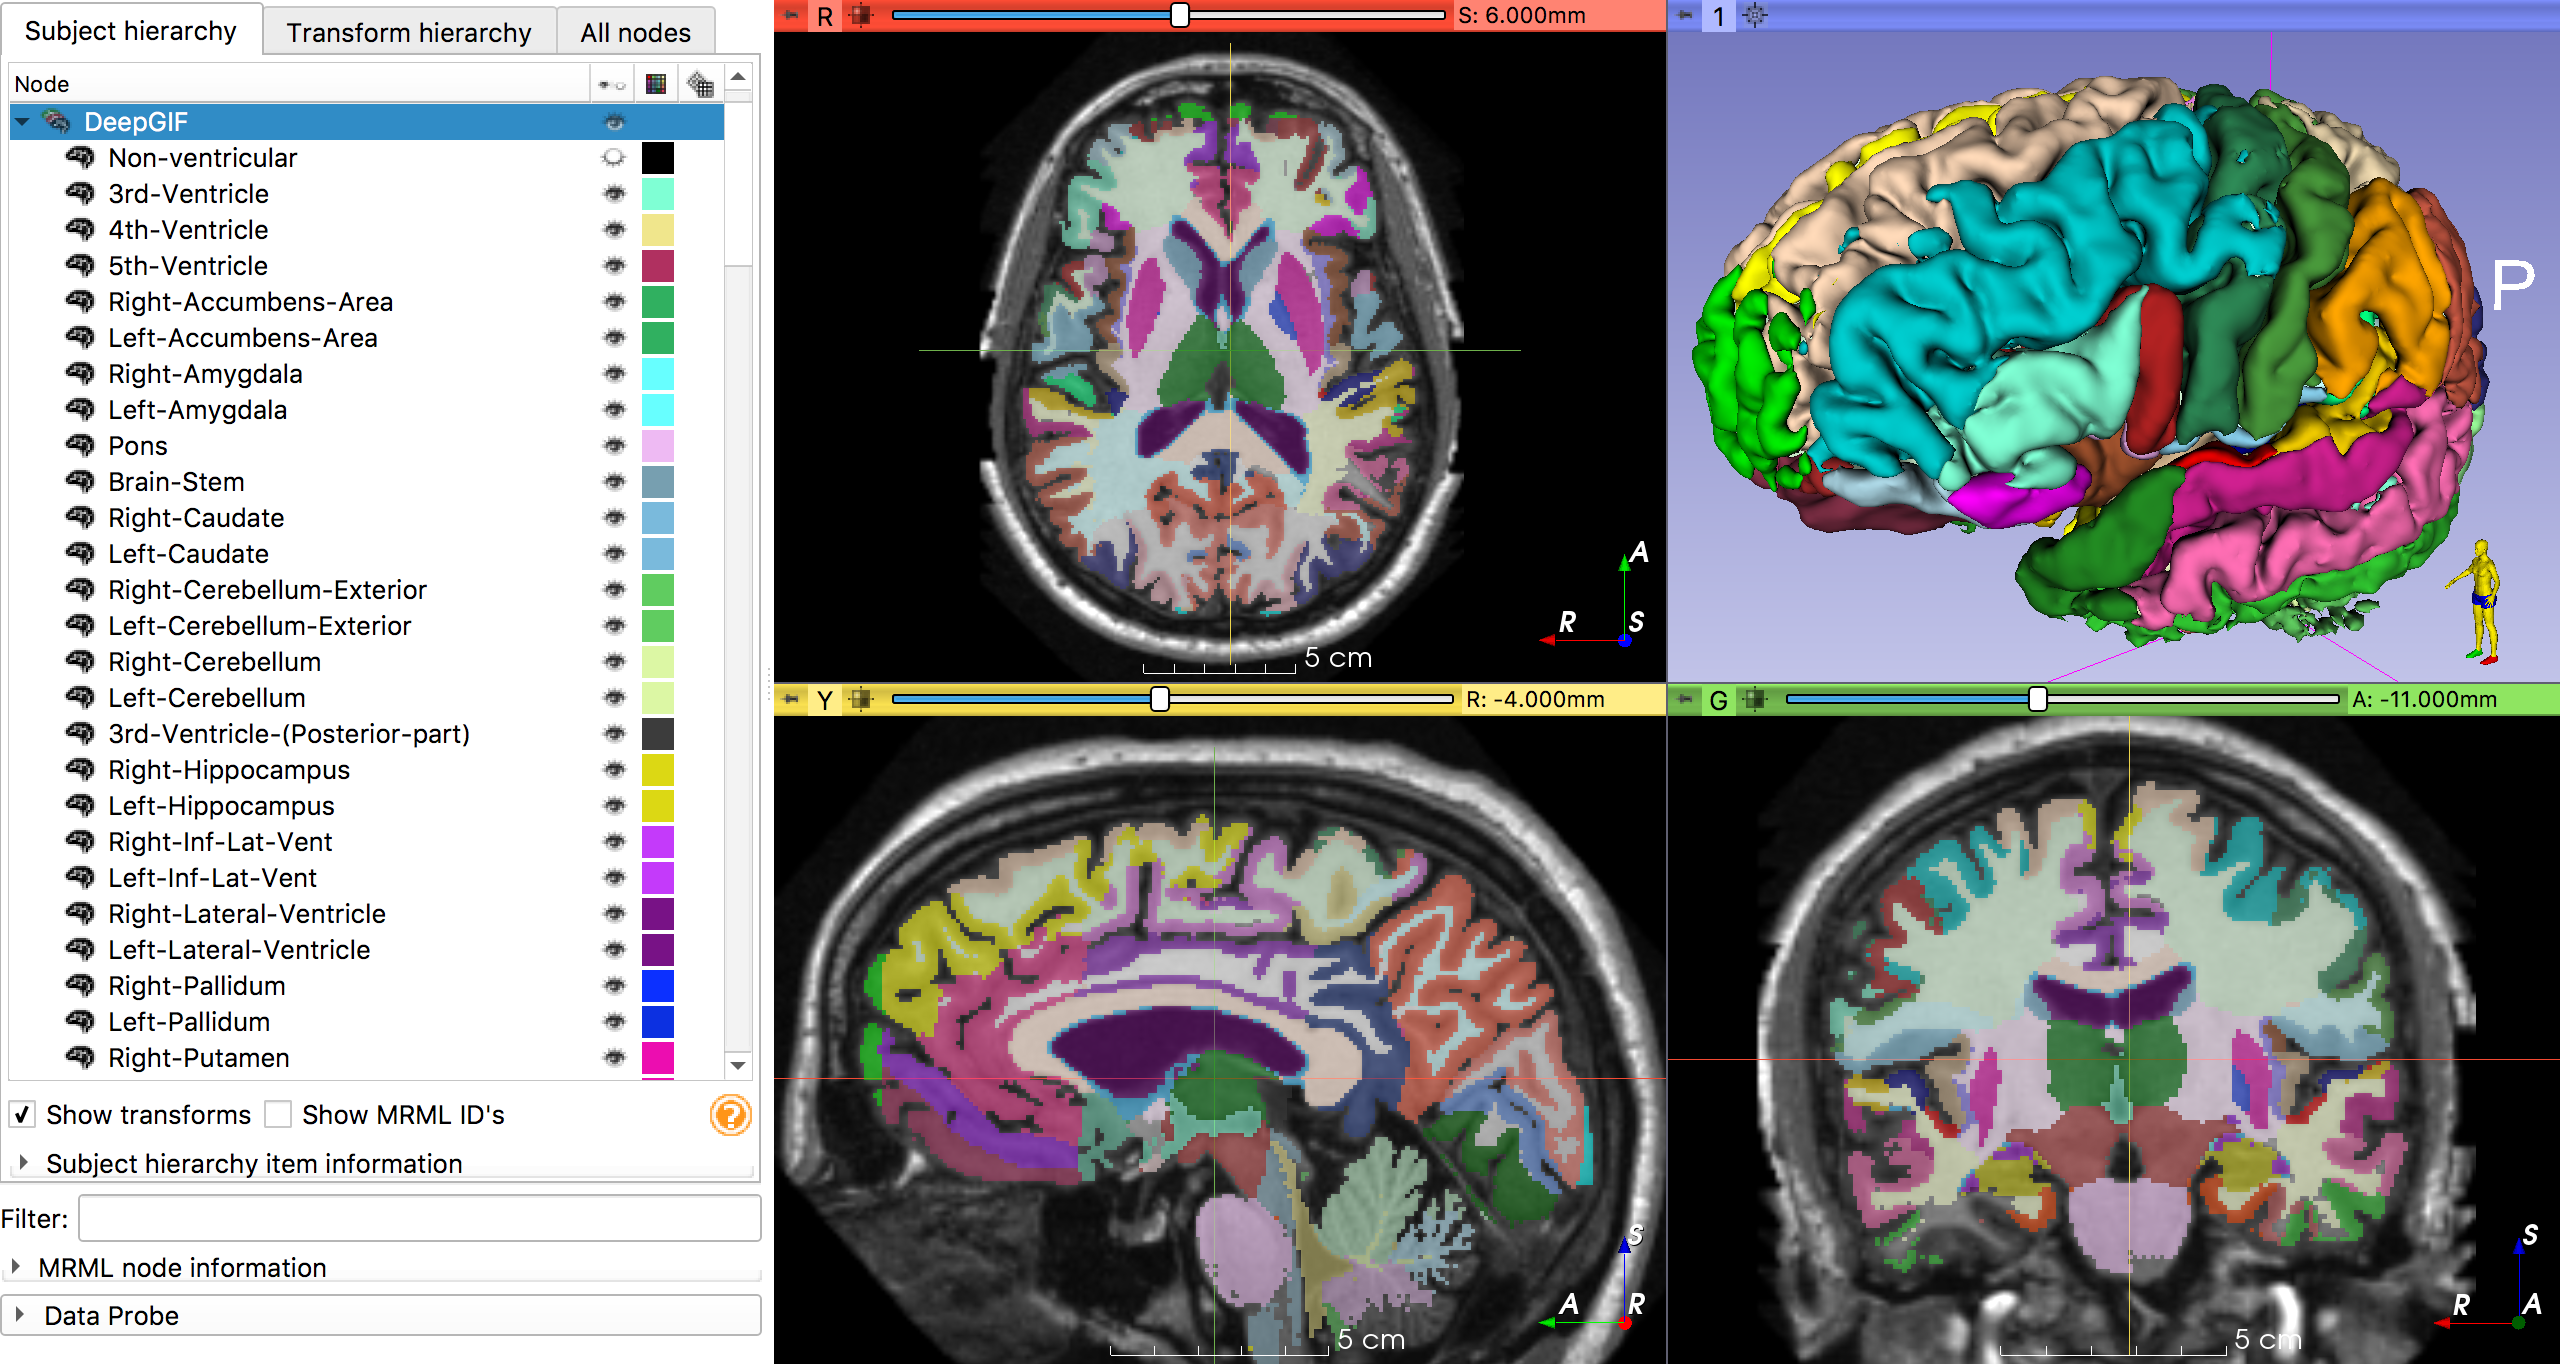
$ NII_FILE=`download_oasis`
$ deepgif $NII_FILE
PyTorch implementation of HighRes3DNet from Li et al. 2017, *On the Compactness, Efficiency, and Representation of 3D Convolutional Networks: Brain Parcellation as a Pretext Task*.
All the information about how the weights were ported from NiftyNet can be found in my submission to the MICCAI Educational Challenge 2019.
Usage
Command line interface
(deepgif) $ deepgif t1_mri.nii.gz
Using cache found in /home/fernando/.cache/torch/hub/fepegar_highresnet_master
100%|███████████████████████████████████████████| 36/36 [01:13<00:00,  2.05s/it]
PyTorch Hub
If you are using pytorch>=1.1.0, you can import the model directly from this repository using PyTorch Hub.
>>> import torch
>>> repo = 'fepegar/highresnet'
>>> model_name = 'highres3dnet'
>>> print(torch.hub.help(repo, model_name))
    "HighRes3DNet by Li et al. 2017 for T1-MRI brain parcellation"
    "pretrained (bool): load parameters from pretrained model"
>>> model = torch.hub.load(repo, model_name, pretrained=True)
>>>
Installation
1. Create a conda environment (recommended)
ENVNAME="gifenv"
conda create -n $ENVNAME python -y
conda activate $ENVNAME
2. Install PyTorch and highresnet
Within the conda environment:
pip install pytorch highresnetNow you can do
>>> from highresnet import HighRes3DNet
>>> model = HighRes3DNet(in_channels=1, out_channels=160)
>>>
Credits
This package was created with Cookiecutter and the audreyr/cookiecutter-pypackage project template.
