higlass-python 🔎
A fresh Python library for higlass built
on top of:
-
higlass-schema: Pydantic models for HiGlass. -
higlass-widget: A cross-platform AnyWidget for Jupyter environments.

Installation
pip install higlass-pythonUsage
import higlass as hg

# Remote data source (tileset)
tileset1 = hg.remote(
    uid="CQMd6V_cRw6iCI_-Unl3PQ",
    server="https://higlass.io/api/v1/",
    name="Rao et al. (2014) GM12878 MboI (allreps) 1kb",
)

# Local tileset
tileset2 = hg.cooler("../data/dataset.mcool")

# Create a `hg.HeatmapTrack` for each tileset
track1 = tileset1.track("heatmap")
track2 = tileset2.track("heatmap")

# Create two independent `hg.View`s, one for each heatmap
view1 = hg.view(track1, width=6)
view2 = hg.view(track2, width=6)

# Lock zoom & location for each `View`
view_lock = hg.lock(view1, view2)

# Concatenate views horizontally and apply synchronization lock
(view1 | view2).locks(view_lock)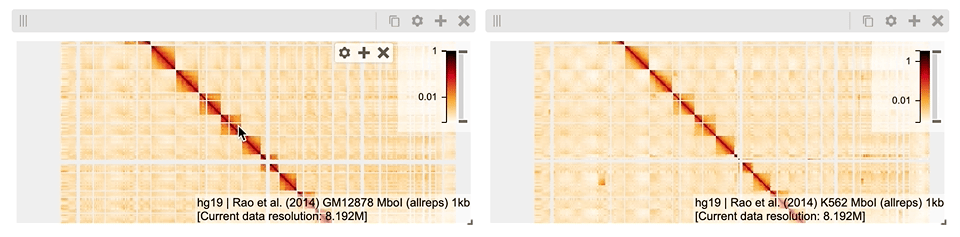
To learn more about the new API, check out the updated documentation.
Upgrade Guide
higlass-python v1.0 is a total rewrite of our prior implementation, aimed to offer a more ergonomic and flexible API. While this might present challenges when upgrading existing code, we've prepared documentation to guide you through the new API usage.
If you find a missing feature, please open an issue – we're committed to supporting your use cases with the new API.
Despite the large changes in v1.0, we will strive to avoid breaking changes going forward. However, because of the complete rewrite, the v1.0 release doesn't strictly adhere to semantic versioning. You can think of it as a pre-1.0 release, with breaking changes and new features included in minor releases, and bug fixes in patch releases.
We will aim for strict semantic versioning with the v2.0 release. Your feedback and understanding are greatly appreciated.
Development
higlass-python uses
the recommended hatchling
build-system, which is convenient to use via the
hatch CLI. We recommend installing hatch
globally (e.g., via pipx) and running the various commands defined within
pyproject.toml. hatch will take care of creating and synchronizing a virtual
environment with all dependencies defined in pyproject.toml.
Commands Cheatsheet
All commands are run from the root of the project, from a terminal:
| Command | Action |
|---|---|
hatch run fix |
Format project with black . and apply linting with ruff --fix .
|
hatch run lint |
Lint project with ruff .. |
hatch run test |
Run unit tests with pytest in latest Python version. |
hatch run test:test |
Run unit tests with pytest in all target Python versions. |
hatch run docs:build |
Build the documentation in docs/_build/html. |
hatch run docs:serve |
Start an dev-server for live editing RST files in docs/. |
Note:
hatch buildandhatch publishare available to build and publish the project to PyPI, but all releases are handled automatically via CI.
Alternatively, you can develop higlass-python by manually creating a virtual
environment and managing installation and dependencies with pip. For example,
create a virtual environment with conda:
conda create -n higlass python=3.11
conda activate higlass
and install higlass-python in editable mode with all optional dependencies:
pip install -e ".[dev,fuse,docs]"Our CI checks formatting (black .), linting (ruff .), and tests (pytest).


