Named Entity Recognition Annotator
This repository contains a NER utility to annotate text, given some entities.
| Dark GUI | Light GUI |
|---|---|
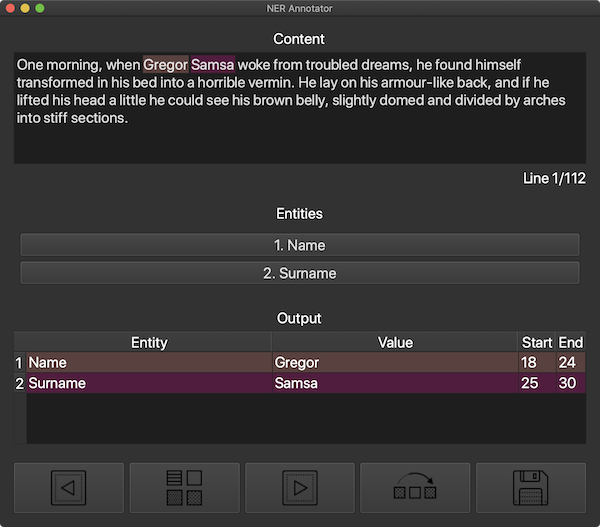 |
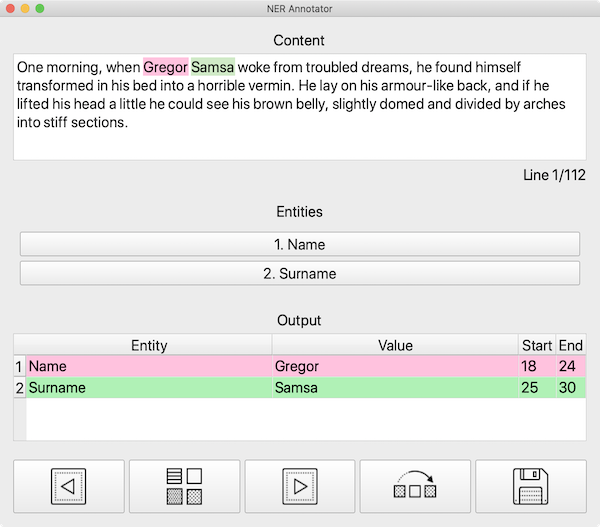 |
Installation
To install this GUI you need to make sure that you have Python 3 on your system.
Then, cd into the project's root and run:
pip install .This will install the ner_annotator package and its required dependencies (mainly PyQt5).
Usage
To run this utility, execute the following command:
ner_annotator <input> -o <output> -e <entities>Here, <input> is the path to the input text file, which should contain your training text lines, separated by newlines; <output> is the path to where you would like to save the .json output file (if not given, it defaults to the same directory as the input file); <entities> is the list of entities you would like to annotate.
For example, I could run the program like this:
ner_annotator '~/Desktop/train.txt' -e 'BirthDate' 'Name'You can also optionally pass an existing NER model to the annotator, so as to identify entities using that model (button between previous and next line controls in the GUI) and eventually modify/add/remove them. For example:
ner_annotator '~/Desktop/train.txt' -e 'BirthDate' 'Name' -m '~/Desktop/NER'Currently, only SpaCy models are supported, but you can contribute to the project and add compatibility with other NER models, by checking the model.py file inside the ner_annotator package.
The great thing about this package is that it is able to automagically identify the correct library for the given model (i.e. you don't have to specify that your model should be loaded with SpaCy or any other NLP library).
Config file
In order to have a faster annotation experience, you can save your model entities names to reuse them the next time you are going to need this tool.
To do that, you need to create a .json file (see assets/json/config.json), with a schema like the following:
{
	"models": [
		{
			"name": "example-1",
			"entities": ["entity-1-1", "entity-1-2", "entity-1-3"]
		},
		{
			"name": "example-2",
			"entities": ["entity-2-1", "entity-2-2"]
		}
	]
}
To use the entities of the model example-1, for example, you can run:
python3 annotator.py '~/Desktop/train.txt' -c '~/Desktop/config.json' -n 'example-1'Here, ~/Desktop/config.json is the path to the .json file mentioned above.
This bash command will be the equivalent in this example:
python3 annotator.py '~/Desktop/train.txt' -e 'entity-1-1' 'entity-1-2' 'entity-1-3'Output
The utility software will output a .json file with the following schema:
[
	{
		"content": "text",
		"entities": [[0, 1, "entity"]]
	}
]
You can convert this output into the specific format required by your NER model by passing the -p option to the ner_annotator tool. In this way, on your output folder you will also find a pickle file (with the same name as the given .json output file, but with no extension), which can then be used to load entities in another program with the requested NLP library. To load the saved pickle file, you can do something along these lines:
import pickle
pickle.load(open("~/Desktop/output", 'rb'))
In this example, ner_annotator was either called with -o ~/Desktop/output.json or without the -o option but with -i ~/Desktop/train.txt or similar.
Currently, only SpaCy models conversion is provided.
Distribution
This package is available on PyPy, so you can also install it by simply running:
pip install ner-annotatorYou can also install extra packages, like SpaCy:
pip install ner-annotator[spacy]Personal note: In order to upload a new version of the package to PyPy, just execute scripts/deploy.sh, insert __token__ as Twine username and the saved API token as Twine password.
Thanks to
- GUI icons are provided by Icons8
