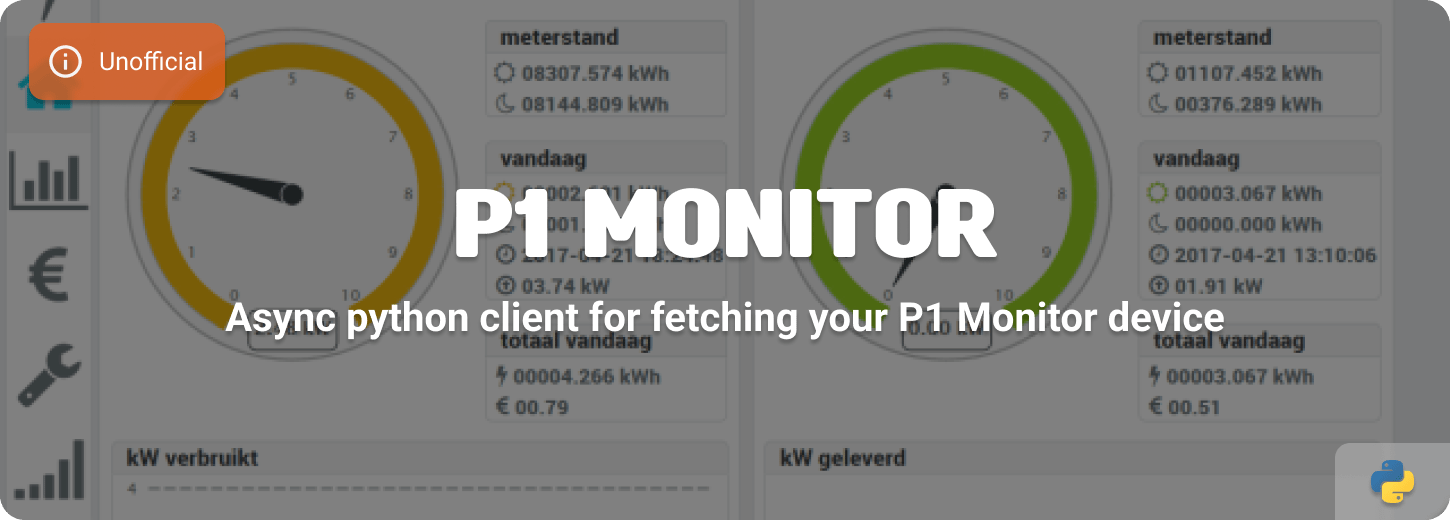
Asynchronous Python client for the P1 Monitor API.
There are many ways to read the serial port (P1) of your smart meter and what you do with the data that comes out. With this python library your platform can read P1 Monitor via the API and use the data for example for an integration in Home Assistant.
pip install p1monitorimport asyncio
from p1monitor import P1Monitor
async def main():
"""Show example on getting P1 Monitor data."""
async with P1Monitor(host="192.168.1.2", port=80) as client:
smartmeter = await client.smartmeter()
watermeter = await client.watermeter()
settings = await client.settings()
phases = await client.phases()
print(smartmeter)
print(watermeter)
print(settings)
print(phases)
if __name__ == "__main__":
asyncio.run(main())More examples can be found in the examples folder.
This is the main class that you will use to interact with the P1 Monitor.
| Parameter | Required | Description |
|---|---|---|
host |
True |
The IP address of the P1 Monitor. |
port |
False |
The port of the P1 Monitor. Default is 80. |
There is a lot of data that you can read via the API:
- Gas Consumption
- Power Consumption / Production
- Energy Consumption Low/High
- Energy Production Low/High
- Energy Tariff Period
- Voltage phases L1/2/3
- Current Phases L1/2/3
- Power consumed phases L1/2/3
- Power Produced phases L1/2/3
Important
WaterMeter is only available when you run version 1.1.0 or higher due the use of the new v2 API url.
- Day Consumption (liters)
- Total Consumption (m3)
- Day Pulse count
- Gas Consumption Price
- Energy Consumption Price Low/High
- Energy Production Price Low/High
This is an active open-source project. We are always open to people who want to use the code or contribute to it.
We've set up a separate document for our contribution guidelines.
Thank you for being involved! 😍
The simplest way to begin is by utilizing the Dev Container feature of Visual Studio Code or by opening a CodeSpace directly on GitHub. By clicking the button below you immediately start a Dev Container in Visual Studio Code.
This Python project relies on Poetry as its dependency manager, providing comprehensive management and control over project dependencies.
You need at least:
- Python 3.11+
- Poetry
Install all packages, including all development requirements:
poetry installPoetry creates by default an virtual environment where it installs all necessary pip packages, to enter or exit the venv run the following commands:
poetry shell
exit
Setup the pre-commit check, you must run this inside the virtual environment:
pre-commit installNow you're all set to get started!
As this repository uses the pre-commit framework, all changes are linted and tested with each commit. You can run all checks and tests manually, using the following command:
poetry run pre-commit run --all-filesTo run just the Python tests:
poetry run pytestTo update the syrupy snapshot tests:
poetry run pytest --snapshot-updateMIT License
Copyright (c) 2021-2024 Klaas Schoute
Permission is hereby granted, free of charge, to any person obtaining a copy of this software and associated documentation files (the "Software"), to deal in the Software without restriction, including without limitation the rights to use, copy, modify, merge, publish, distribute, sublicense, and/or sell copies of the Software, and to permit persons to whom the Software is furnished to do so, subject to the following conditions:
The above copyright notice and this permission notice shall be included in all copies or substantial portions of the Software.
THE SOFTWARE IS PROVIDED "AS IS", WITHOUT WARRANTY OF ANY KIND, EXPRESS OR IMPLIED, INCLUDING BUT NOT LIMITED TO THE WARRANTIES OF MERCHANTABILITY, FITNESS FOR A PARTICULAR PURPOSE AND NONINFRINGEMENT. IN NO EVENT SHALL THE AUTHORS OR COPYRIGHT HOLDERS BE LIABLE FOR ANY CLAIM, DAMAGES OR OTHER LIABILITY, WHETHER IN AN ACTION OF CONTRACT, TORT OR OTHERWISE, ARISING FROM, OUT OF OR IN CONNECTION WITH THE SOFTWARE OR THE USE OR OTHER DEALINGS IN THE SOFTWARE.


