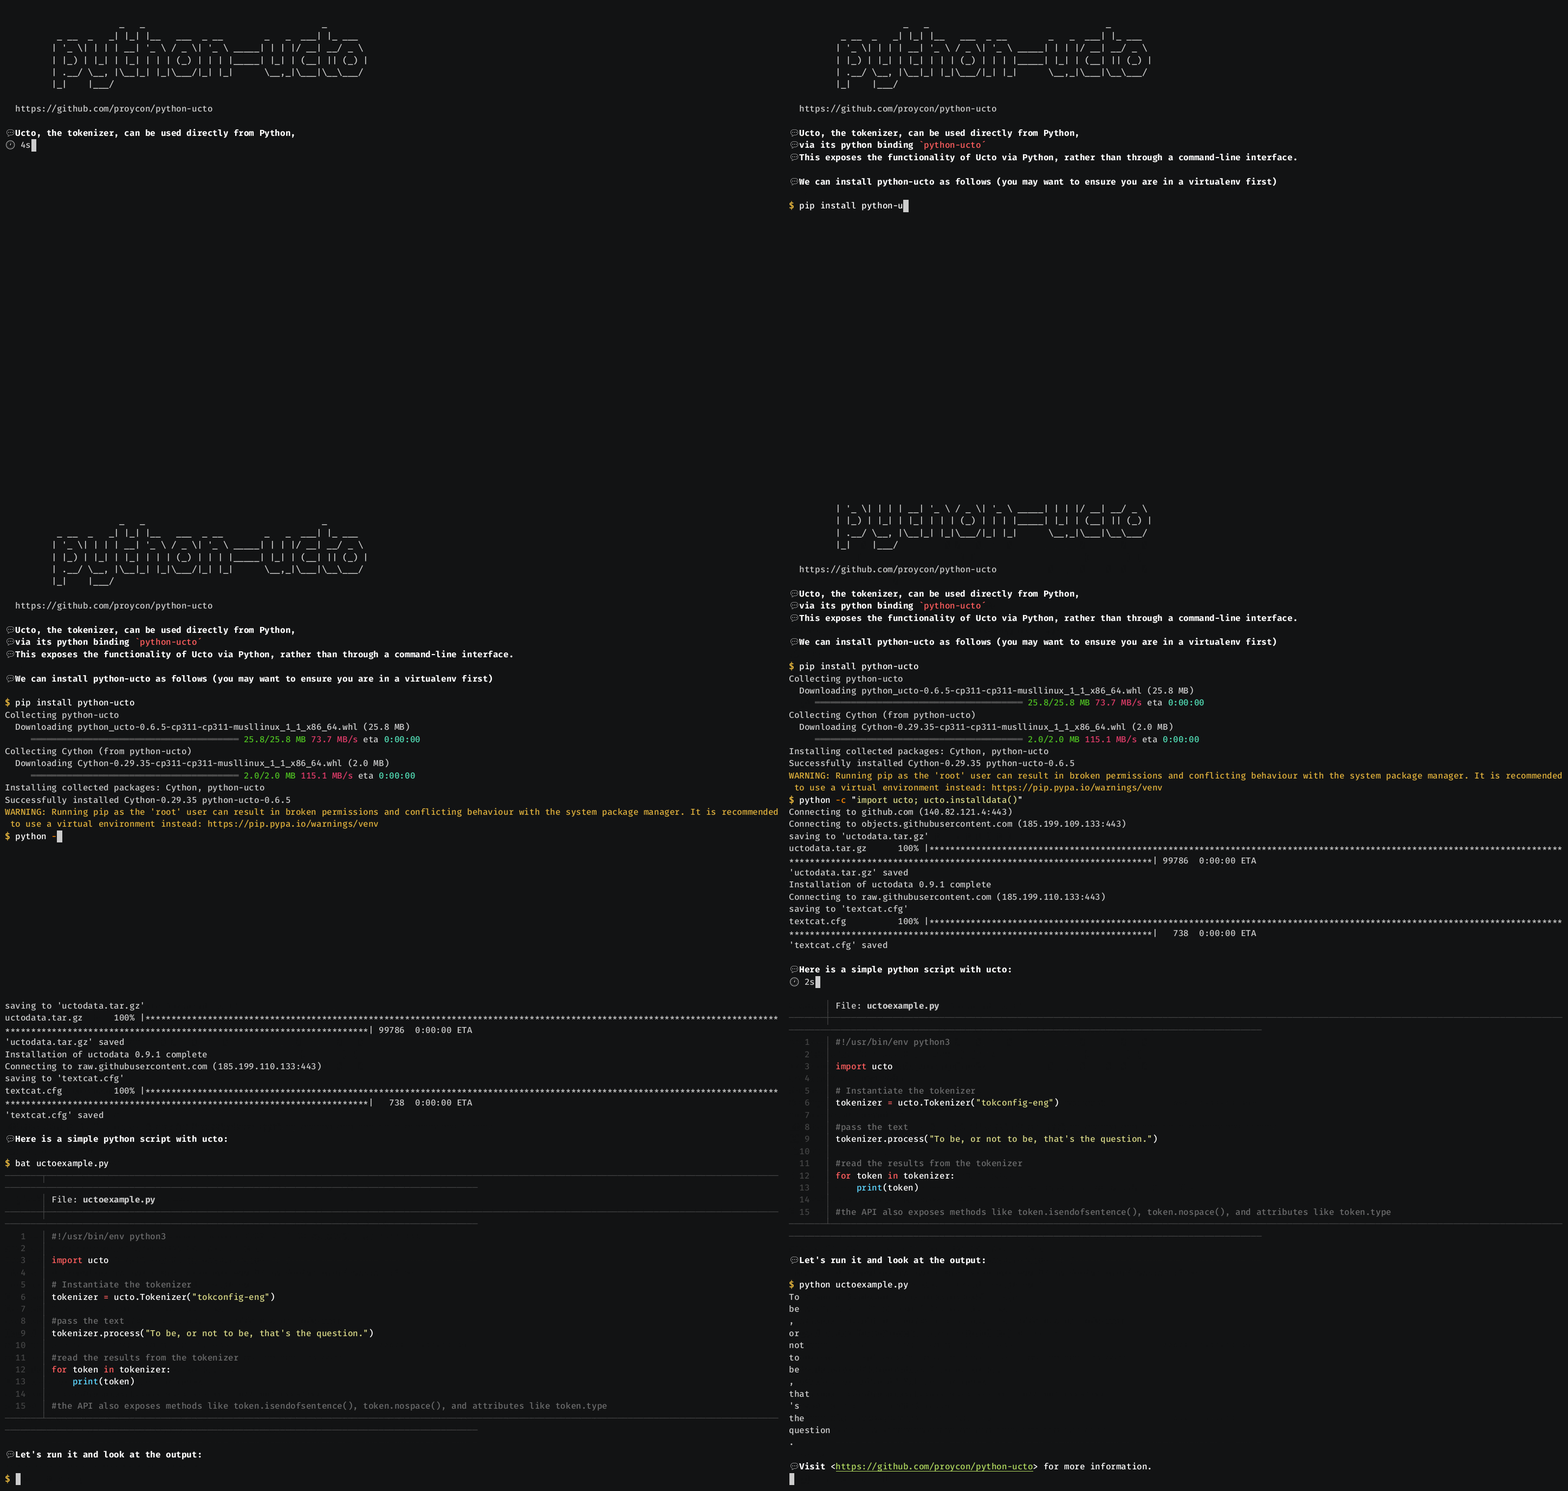
This is a Python binding to the tokeniser Ucto. Tokenisation is one of the first step in almost any Natural Language Processing task, yet it is not always as trivial a task as it appears to be. This binding makes the power of the ucto tokeniser available to Python. Ucto itself is a regular-expression based, extensible, and advanced tokeniser written in C++ (https://languagemachines.github.io/ucto).
We recommend you use a Python virtual environment and install using pip:
pip install python-ucto
When possible on your system, this will install the binary
Python wheels that include ucto and all necessary dependencies except for
uctodata. To download and install the data (in ~/.config/ucto) you then only need to
run the following once:
python -c "import ucto; ucto.installdata()"
If you want language detection support, ensure you the have libexttextcat package (if provided by your distribution) installed prior to executing the above command.
If the binary wheels are not available for your system, you will need to first
install Ucto yourself and then
run pip install python-ucto to install this python binding, it will then be
compiled from source. The following instructions apply in that case:
On Arch Linux, you can alternatively use the AUR package .
On macOS; use homebrew to install Ucto:
brew tap fbkarsdorp/homebrew-lamachine
brew install ucto
On Alpine Linux, run: apk add cython ucto ucto-dev
Windows is not supported natively at all, but you should be able to use the Ucto python binding if you use WSL, or using Docker containers (see below).
A Docker/OCI container image is available containing Python, ucto, and python-ucto:
docker pull proycon/python-ucto
docker run -t -i proycon/python-ucto
You can also build the container from scratch from this repository with the included Dockerfile.
Import and instantiate the Tokenizer class with a configuration file.
import ucto
configurationfile = "tokconfig-eng"
tokenizer = ucto.Tokenizer(configurationfile)
The configuration files supplied with ucto are named tokconfig-xxx where
xxx corresponds to a three letter iso-639-3 language code. There is also a
tokconfig-generic one that has no language-specific rules. Alternatively,
you can make and supply your own configuration file. Note that for older
versions of ucto you may need to provide the absolute path, but the latest
versions will find the configurations supplied with ucto automatically. See
here for a
list of available configuration in the latest version.
The constructor for the Tokenizer class takes the following keyword
arguments:
lowercase(defaults toFalse) -- Lowercase all textuppercase(defaults toFalse) -- Uppercase all textsentenceperlineinput(defaults toFalse) -- Set this to True if each sentence in your input is on one line already and you do not require further sentence boundary detection from ucto.sentenceperlineoutput(defaults toFalse) -- Set this if you want each sentence to be outputted on one line. Has not much effect within the context of Python.paragraphdetection(defaults toTrue) -- Do paragraph detection. Paragraphs are simply delimited by an empty line.quotedetection(defaults toFalse) -- Set this if you want to enable the experimental quote detection, to detect quoted text (enclosed within some sort of single/double quote)debug(defaults toFalse) -- Enable verbose debug output
Text is passed to the tokeniser using the process() method, this method
returns the number of tokens rather than the tokens itself. It may be called
multiple times in sequence. The tokens
themselves will be buffered in the Tokenizer instance and can be
obtained by iterating over it, after which the buffer will be cleared:
#pass the text (a str) (may be called multiple times),
tokenizer.process(text)

#read the tokenised data
for token in tokenizer:
    #token is an instance of ucto.Token, serialise to string using str()
    print(str(token))

    #tokens remember whether they are followed by a space
    if token.isendofsentence():
        print()
    elif not token.nospace():
        print(" ",end="")
The process() method takes a single string (str), as parameter. The string may contain newlines, and newlines
are not necessary sentence bounds unless you instantiated the tokenizer with sentenceperlineinput=True.
Each token is an instance of ucto.Token. It can be serialised to string
using str() as shown in the example above.
The following methods are available on ucto.Token instances:
* isendofsentence() -- Returns a boolean indicating whether this is the last token of a sentence.
* nospace() -- Returns a boolean, if True there is no space following this token in the original input text.
* isnewparagraph() -- Returns True if this token is the start of a new paragraph.
* isbeginofquote()
* isendofquote()
* tokentype -- This is an attribute, not a method. It contains the type or class of the token (e.g. a string like WORD, ABBREVIATION, PUNCTUATION, URL, EMAIL, SMILEY, etc..)
In addition to the low-level process() method, the tokenizer can also read
an input file and produce an output file, in the same fashion as ucto itself
does when invoked from the command line. This is achieved using the
tokenize(inputfilename, outputfilename) method:
tokenizer.tokenize("input.txt","output.txt")Input and output files may
be either plain text, or in the FoLiA XML format. Upon instantiation of the Tokenizer class, there
are two keyword arguments to indicate this:
-
xmlinputorfoliainput-- A boolean that indicates whether the input is FoLiA XML (True) or plain text (False). Defaults toFalse. -
xmloutputorfoliaoutput-- A boolean that indicates whether the input is FoLiA XML (True) or plain text (False). Defaults toFalse. If this option is enabled, you can set an additional keyword parameterdocid(string) to set the document ID.
An example for plain text input and FoLiA output:
tokenizer = ucto.Tokenizer(configurationfile, foliaoutput=True)
tokenizer.tokenize("input.txt", "ucto_output.folia.xml")
FoLiA documents retain all the information ucto can output, unlike the plain text representation. These documents can be read and manipulated from Python using the FoLiaPy library. FoLiA is especially recommended if you intend to further enrich the document with linguistic annotation. A small example of reading ucto's FoLiA output using this library follows, but consult the documentation for more:
import folia.main as folia
doc = folia.Document(file="ucto_output.folia.xml")
for paragraph in doc.paragraphs():
    for sentence in paragraph.sentence():
        for word in sentence.words()
            print(word.text(), end="")
            if word.space:
                print(" ", end="")
        print()
print()Run and inspect example.py.
