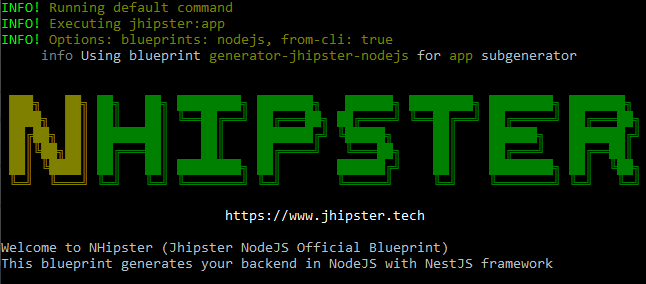
generator-jhipster-nodejs, the official NodeJS blueprint that uses NestJS TypeScript Framework for your backend. We encourage you to use it and give us your feedback.
For the features of the last release refers to CHANGELOG.md.
The UI is inherited from standard JHipster app client. So only backend generation changes. For this, a live app running is less useful than the code and the app structure shows in:
- The sample repo app with React client and Okta OAuth2
- The sample repo app with Angular client and JWT auth
- The sample repo app with Vue.js client and mongodb
This project adds nodejs for your backend, all TypeScript files generation, not Java!, to the JHipster application 😎. It is based on JHipster Blueprint 🔵, that is meant to be used in a JHipster application.
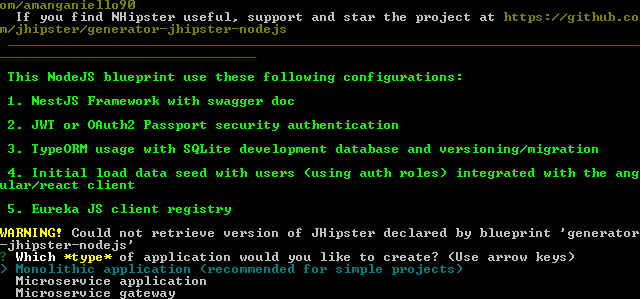
The generator applies this standard configuration for the NodeJS app:
- NestJS base app with web controllers, swagger doc and JWT or OAuth2 passport auth services
- The app starts with four seed users (admin, basic user and anonymous roles), as standard JHipster monolithic app, with SQLite for dev and configurable sql db for prod. But from the 1.5.0 release you can choose mongodb that uses a memory version for dev/test
- The app uses TypeORM and asks you a question for another sql db or for mongodb
- TypeORM is also used for the automatically migration and versioning of the database scripts
- The app runs also as a full stack app including, for the monolitich choice, the Angular/React client with the home page set for NHipster and CRUD operations for entity generated with subgenerator and jdl import
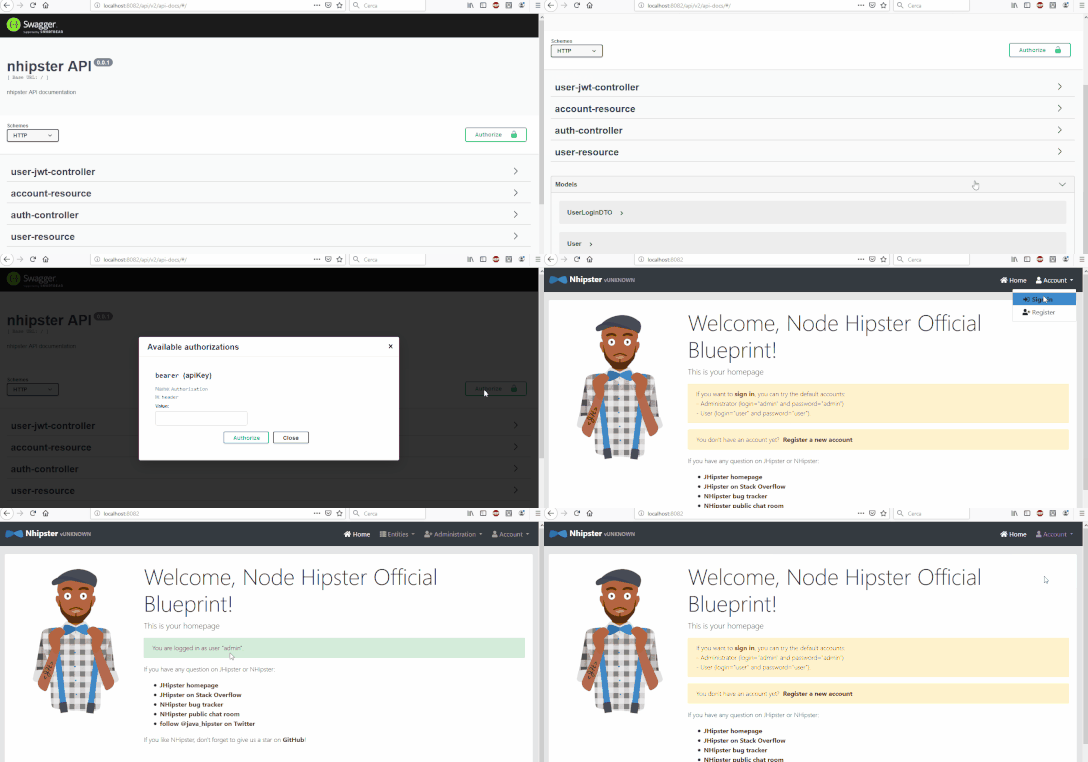
A previous of a jwt auth app:
As this is a JHipster blueprint, we expect you have JHipster and its related tools already installed:
Please attention to install that node.js version!!
- Make sure you have followed the JHipster installation guide and that both
yeomanandjhipsterare installed. - Install the package with
npm install -g generator-jhipster-nodejs - And generate the application with
nhipster
To install this blueprint:
npm install -g generator-jhipster-nodejsTo update this blueprint:
npm update -g generator-jhipster-nodejsTo install this blueprint:
yarn global add generator-jhipster-nodejs
To update this blueprint:
yarn global upgrade generator-jhipster-nodejsThis is a blueprint that is runnable by:
jhipster --blueprints nodejsHowever, it also ships with an nhipster CLI that you can use as a shortcut.
✅ General App generation
nhipster
✅ Controller generation
nhipster spring-controller <controller-name>
✅ Service generation
nhipster spring-service <service-name>
✅ Entity generation
nhipster entity <entity-name>
✅ JDL Entity model support generation
nhipster import-jdl my_file.jdl
✅ Ci-cd generation
nhipster ci-cd
For the last, in the test-integration/samples/FOLDER_NAME-jdl there are some examples of jdl models.
- Download the Dockerfile:
mkdir docker
cd docker
wget https://github.com/jhipster/generator-jhipster-nodejs/raw/master/docker/Dockerfile- Build the Docker images:
docker build -t jhipster-generator-nodejs:latest .- Make a folder where you want to generate the Application:
mkdir app
cd app- Run the generator image in one of the two following options.
- Run the generator from image to generate service:
docker run -it --rm -v $PWD:/home/jhipster/app jhipster-generator-nodejs- Run and attach interactive shell to the generator docker container to work from inside the running container:
docker run -it --rm -v $PWD:/home/jhipster/app jhipster-generator-nodejs /bin/bashShell steps:
$ git clone https://github.com/jhipster/generator-jhipster-nodejs.git
$ cd generator-jhipster-nodejs
$ git checkout -b feature/my-feature
$ npm install
$ npm link
$ cd ..
$ git clone https://github.com/jhipster/generator-jhipster.git
$ cd generator-jhipster
$ git checkout v7.0.0
$ npm install
$ npm link
$ cd ..
$ mkdir test-generation
$ cd test-generation
$ npm link generator-jhipster
$ npm link generator-jhipster-nodejs
Now you will develop under the generator-jhipster-nodejs that you have cloned with git. After finish, to generate the app and check your feature, run in test-generation folder:
nhipster
Found an issue, check if is already opened or closed, otherwise open a new feature or bug.
Interested in contributing, check out our contributing guide to get started.
Refer for contribution to roadmap or to kanban board.
Any questions Angelo Manganiello.
Thanks goes to these wonderful people:
Angelo Manganiello (founder stream lead) |
Hadi Rasouli |
Iván García Sainz-Aja |
Daniel Franco |
Ed Pham |
Markus |
Apache-2.0 © Angelo Manganiello


